For Digital Design you will need to export your 3D model as a .stl file for submission.
Step-by-step guide
- Firstly we need to add a SketchUp extension to allow us to export our 3D model as a .stl file. This can be done by clicking Window > Extension Manager.

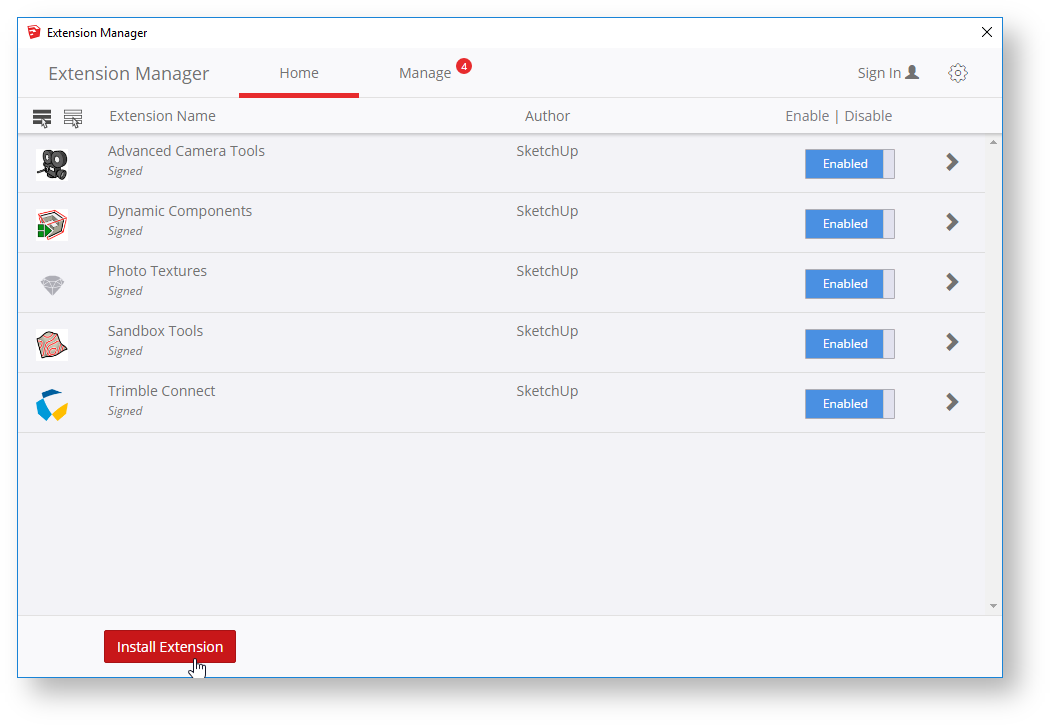
- In the Extension Manager click 'Install Extension'
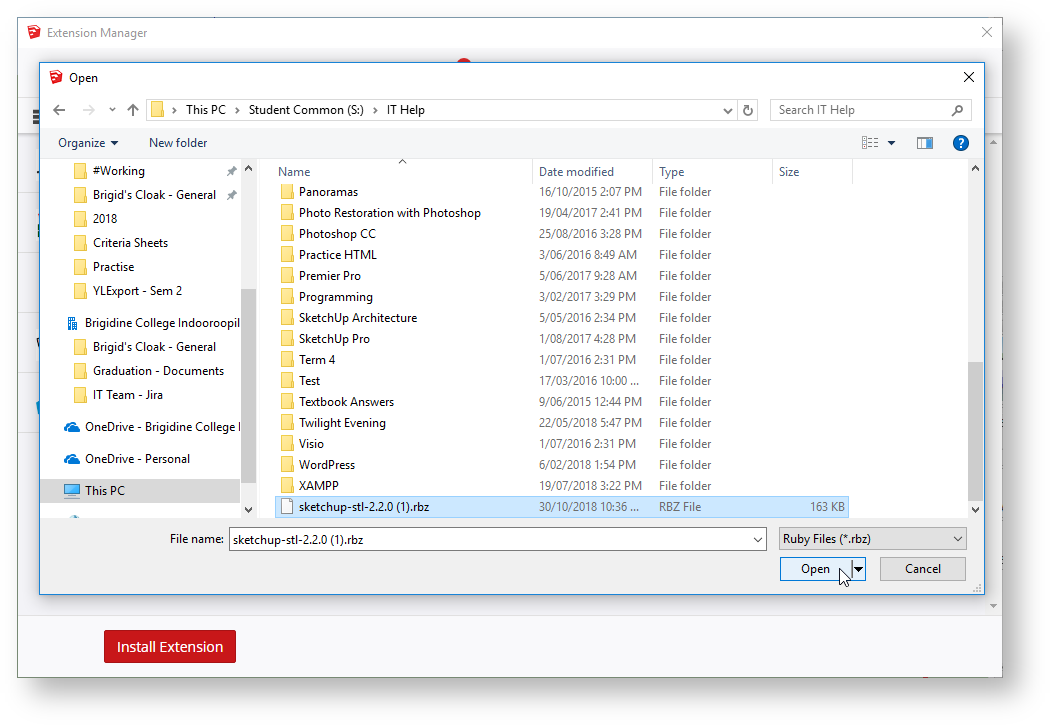
- Navigate to Student Drive > IT Help and click 'sketchup-stl-2.2.0 (1).rbz' and choose Open.
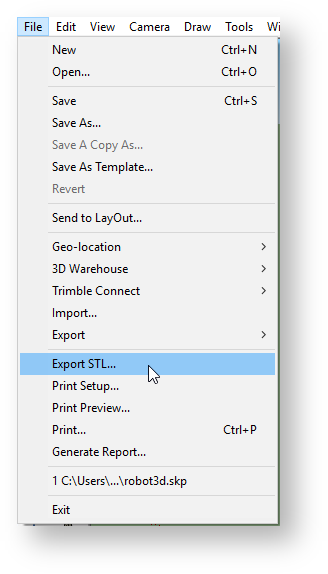
- Once you click Open this extension will be installed. We can double check that by clicking File and looking for 'Export STL...'
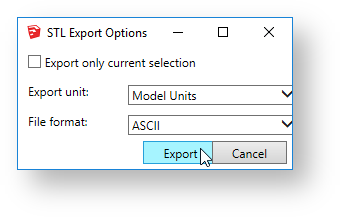
- Once you click 'Export STL...' another menu will pop up. Leave the default settings and click 'Export'
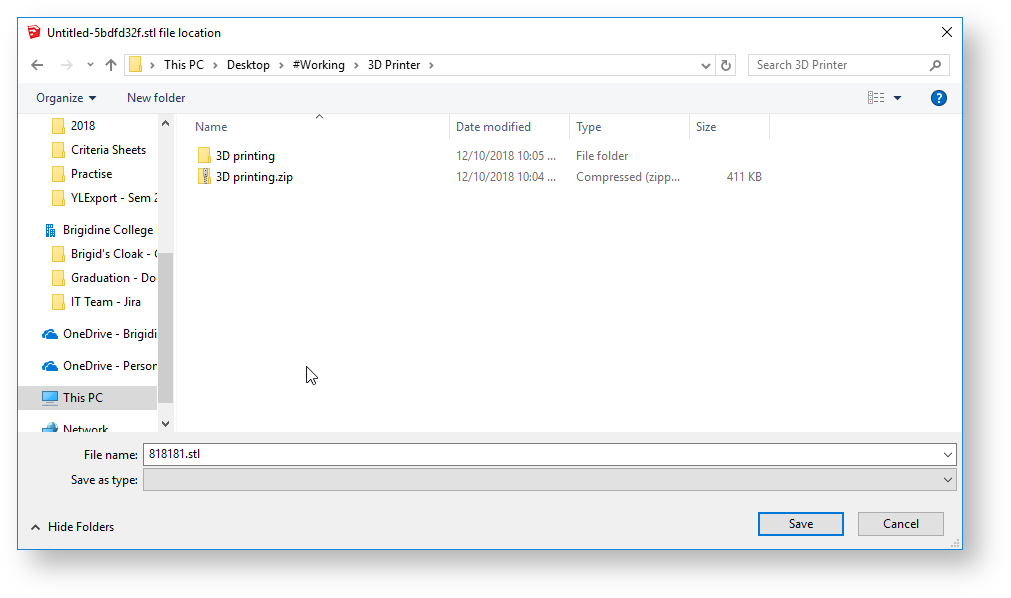
- Save the file on your OneDrive and set the name of the file as your student number (If you are in your group you only need to name it as the student from the group who is submitting).
- Once you have exported your .stl file please upload your file to the class folder here - DD drop folders. It will need to be saved in your classes folder in either the 'Final' or the 'Practise' folder.
- Once this is uploaded please direct message Mr. Weber (James) letting him know this has been uploaded.
IMPORTANT INFORMATION
3D prints can be rejected for numerous reasons and Mr. Weber will let you know why in a reply to your direct message. Common reasons are as follows:
- The file is not in a .stl format
- The SketchUp template man is still in the file. To fix this open up your SketchUp file, click on the man, delete him with the delete key and export the .stl file again as shown in the instructions above.
- The design has '0mm Walls'. The 3D printer cannot print designs that are not solid objects. If you get a reply from Mr. Weber regarding this error please speak with your teacher on how to resolve this issue.
- The design is not the correct scale for printing. If your design is bigger than the specifications in the assignment it will not be printed.
- If the design is rejected for any other reason please speak with your teacher.