Use these instructions to retrieve the data, format, generate and print IA Labels.
Download Files Before Starting Process
Before beginning the process, please ensure you have the following file downloaded.
Retrieving Label Data from SEQTA
- In SEQTA navigate to the 'Teaching Workspace', select 'Academic Reports' and click 'Reporting'
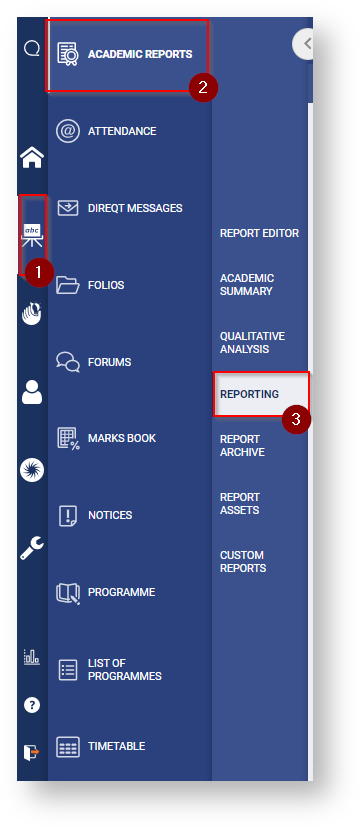
- In the search bar type 'QCAA' and select 'QCAA Barcode Data Report'.
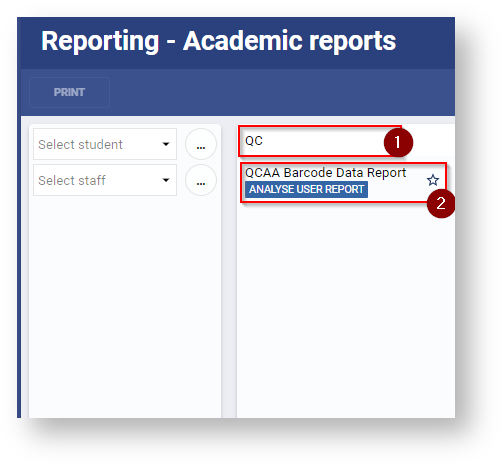
For the first time retrieving the data you will have to search for the report, click the star next to the report name to favourite the report.
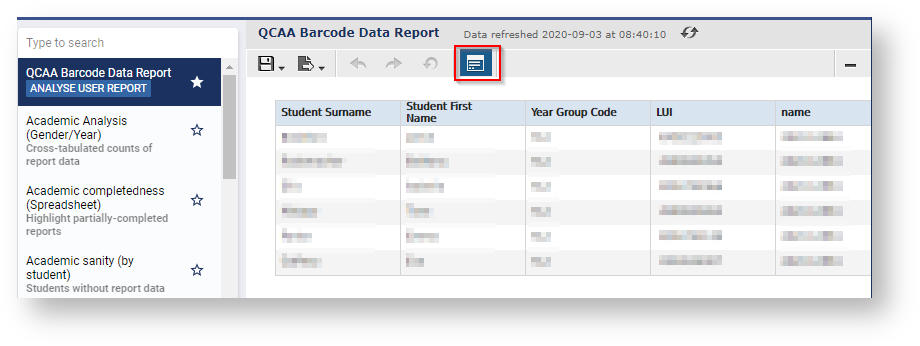
After refreshing the page it will now appear at the top of the Academic Report list.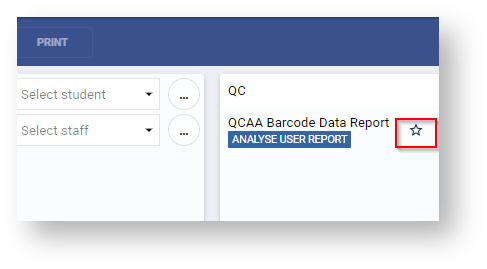
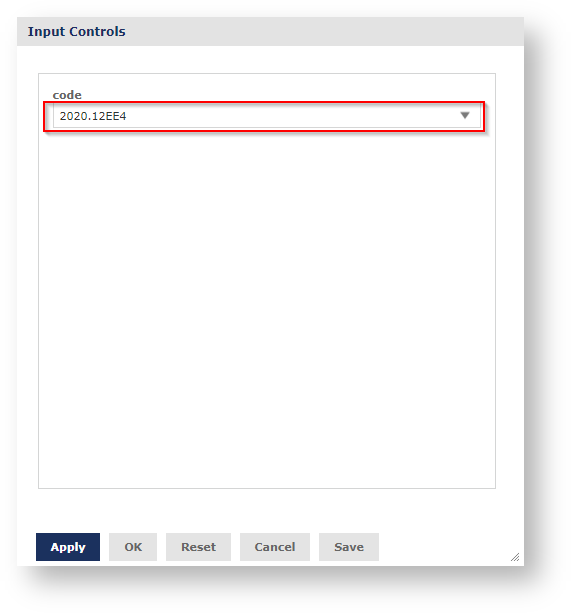
- Once the report loads (it may take a couple seconds), click the 'options' button in the top menu bar.
- The window shown below will pop up, click the search bar to change the data to your required class.
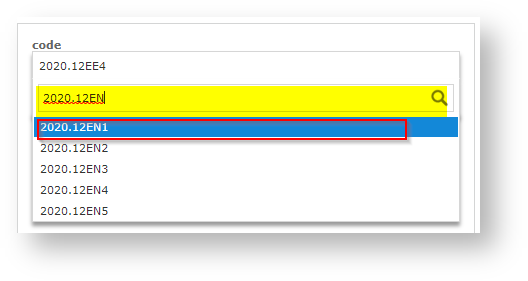
- Type the class code (e.g. 2020.12EN1) and click on the required class.
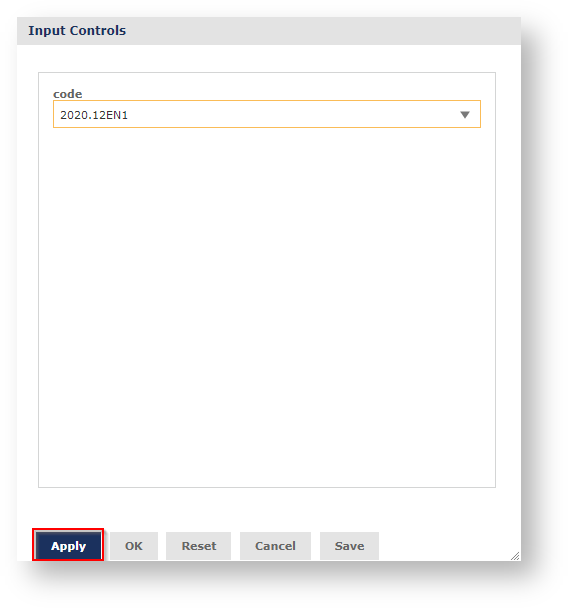
- Click 'Apply' to change the data to the new class.
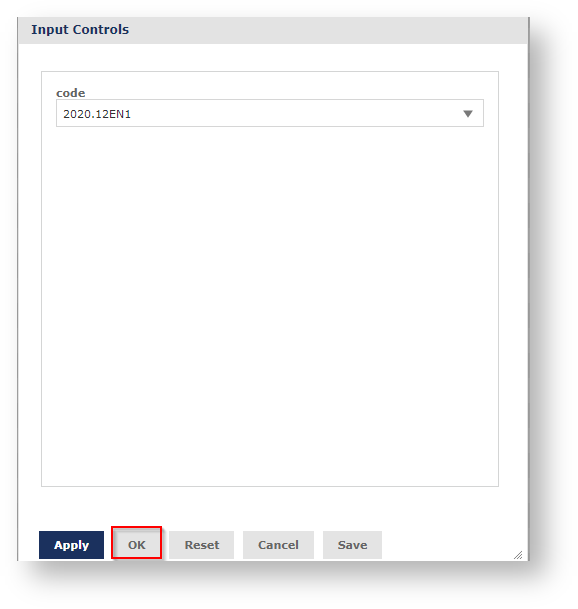
- Once the new data loads click 'OK' to close the pop up window.
- Click on the 'Student Surname' column to bring up the order by options (little icon menu above column), click on the up arrow to sort by ascending alphabetical order.
Once the order is applied the column name will have a '^' symbol next to it.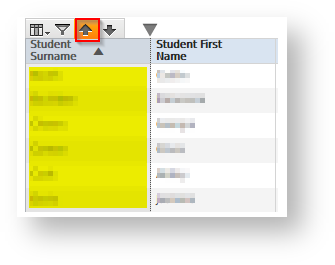
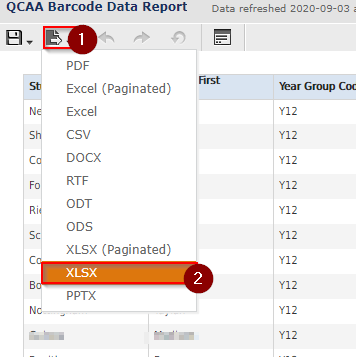
- Hover over the 'Export' button in the top menu bar and select 'XLSX' as the export type.
Formatting the Label Data (in Excel)
- Open the downloaded excel file.
- Type 'IA' in the column next to 'Department', press 'Enter' apply the same formatting.
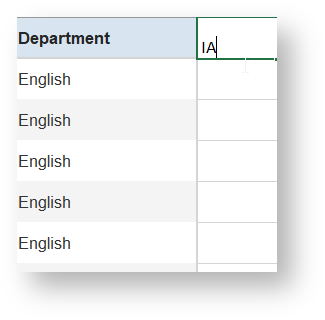
- Type the IA type for that class in the first two rows of the column (e.g. IA2).
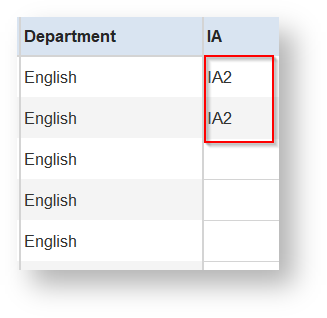
- Select both rows by clicking and dragging, then click the bottom right hand corner (indicated by the black plus) to duplicate the entry along the full column length.
(note the two cells have to be selected - indicated by the solid green outline around it).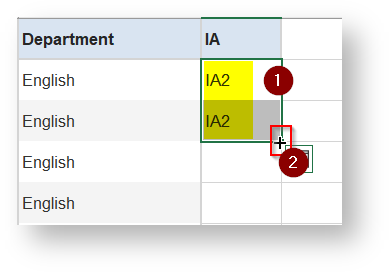
The row entries will now be duplicated throughout the column.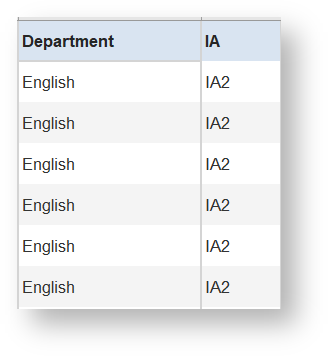
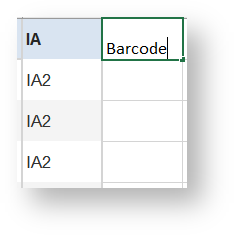
- Type 'Barcode' in the column next to 'IA' and then press 'Enter' to apply the same formatting as 'IA'.
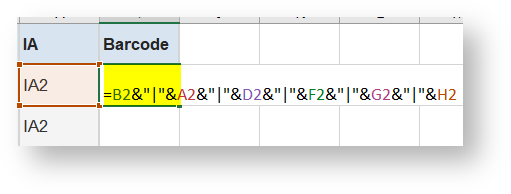
Select the code below by double clicking the field, then 'crtl + c' to copy it.
=B2&"|"&A2&"|"&D2&"|"&F2&"|"&G2&"|"&H2
- Paste the contents in the first row of the 'Barcode' column by pressing 'crtl + v'.
- With the cell selected, click at the bottom right of the cell (indicated by the black plus sign).

- Save the excel file as the ClassName_IANumber (e.g. Business5_IA1), its reccomended to save all the excel label files in the same folder.
Generating and Printing the labels
- Open the '16-MergedClass.docx' document (link to download at top of article.
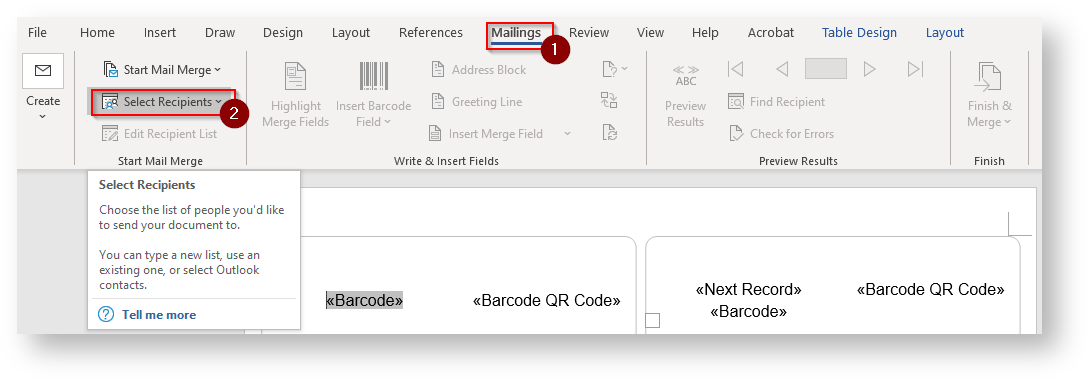
- Click on the 'Mailings' tab in the ribbon bar, and click 'Select Recipients'.
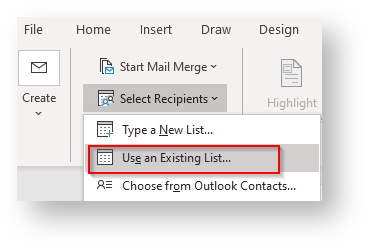
- Select 'Use and existing list'.
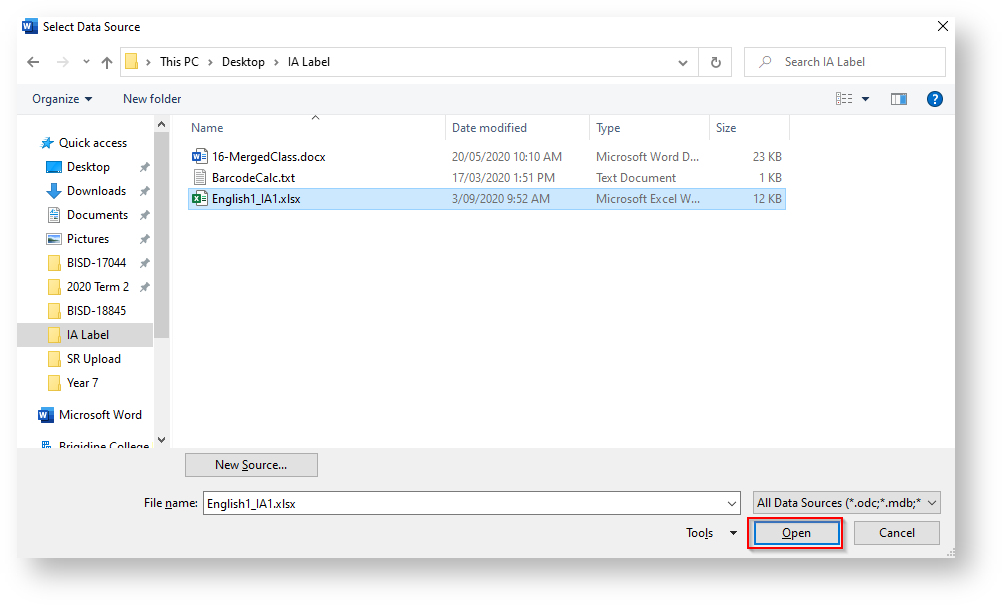
- Navigate to the folder where you saved the excel file, then open the excel file.
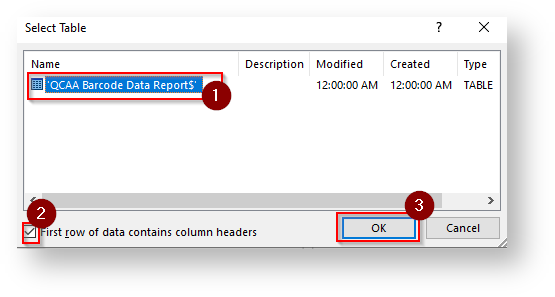
- Select 'QCAA Barcode Data ReportS' from the list, ensure the 'First row of data contains column headers' is ticket and then click 'OK'.
- The entries will not be shown visually automatically, click the 'Preview results' to see the entries visually.
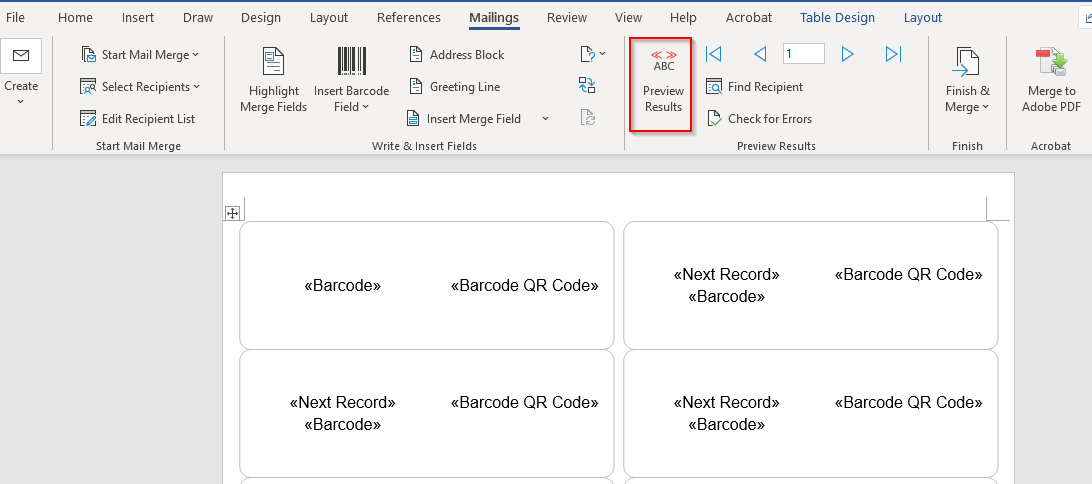
Once applied the entries will be shown as below and the preview results button will be coloured in.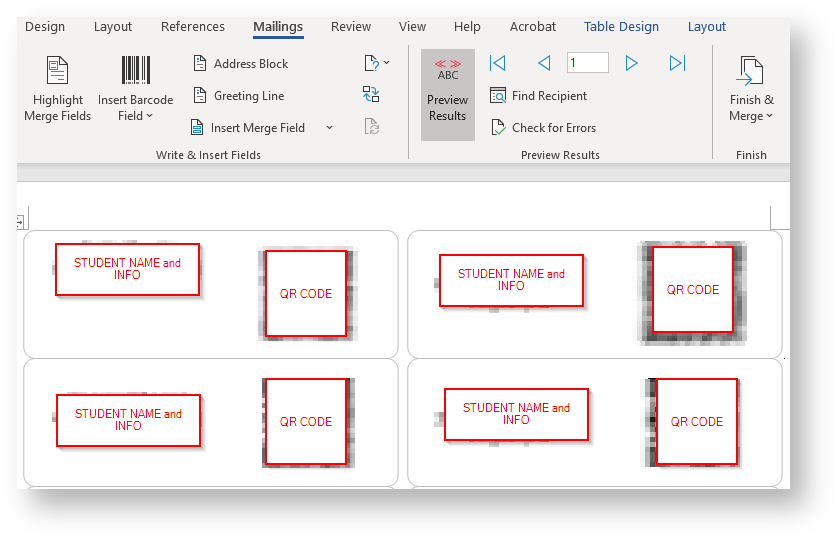
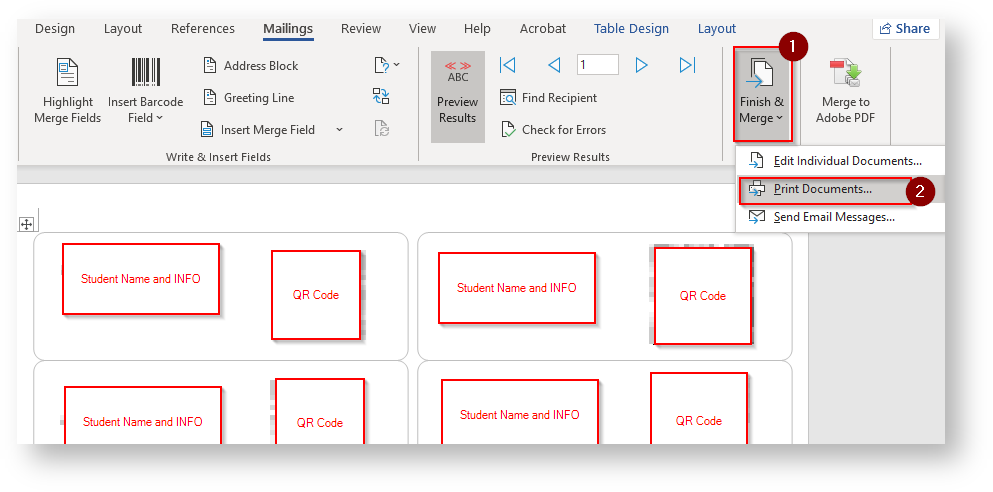
- To print the document select 'Finish and Merge' then select 'Print document'
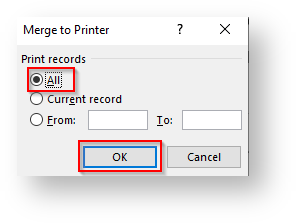
- Ensure 'All' is selected then click 'OK'
- Select 'Follow me Printing - BW' from the drop down list.

- Click 'Properties'
- Change 'Paper Type' to 'Labels' and 'Input Tray' to 'Bypass Tray', then click 'OK'
- Click 'Print' and release the document as normal (note down the number of pages so you know how many to load), then load the label paper in the bypass and print from your desired printer.
Do not save the word document, just overwrite the data by selecting another recipient list when the data needs to be changed