Use these tutorials to create and open OneNotes- OneNote backup and syncing will be covered in later tutorials.
Instructions (Creation)
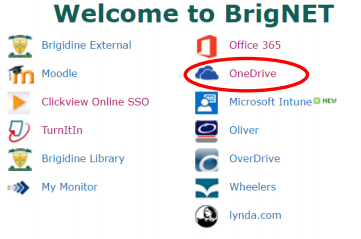
- Go to your OneDrive online
- Create a folder called OneNote Notebooks.
This is where you will save all your OneNotes until you graduate.
Do not move this folder. If you do, your OneNotes will stop syncing. - Open ‘OneNote Notebooks’.
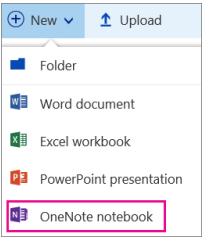
- Click New and then OneNote notebook.
- Name the Notebook.
Call it by the subject, year and term.
For example, if you had a notebook you were going to use for English all year in 2018, call it ‘English 2018’.
If you had a notebook you were going to use for English in Term 1 of 2018, call it ‘English 2018 Term 1’.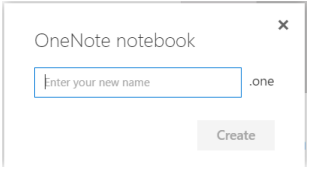
- Click Create and you will be taken to your Notebook.
Then click Edit in OneNote and you will be taken to the desktop OneNote.
- You can now use the Notebook! Make sure you are checking periodically that all your Notebooks are syncing properly.
Instructions (Opening)
- Go to your OneNote online (from Office 365).
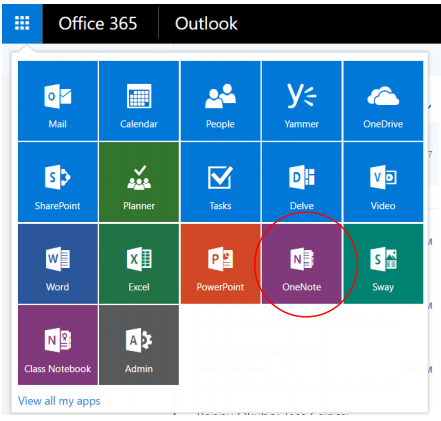
- You will be given a list of your notebooks. Click the one you want to open it.
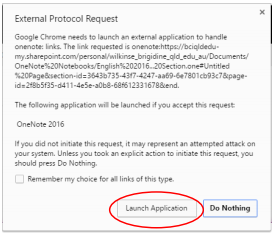
- If you want to open the OneNote in the desktop OneNote app, click Edit in OneNote.

- Click Launch Application.
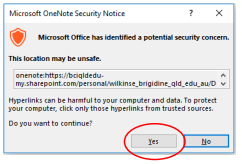
Click Yes.
Alternatively
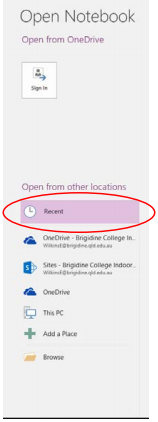
- In your desktop OneNote, go File -> Open.
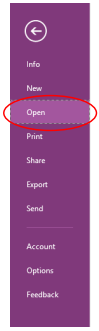
- Under Recent Notebooks, click to open any of the notebooks that are listed.