Each staff member has a pre-made signature, use this tutorial to view your signature which will attach to your email.
Table of Contents
Automatically adding Email Signatures
Outlook
...
Ensure the two boxes are ticked.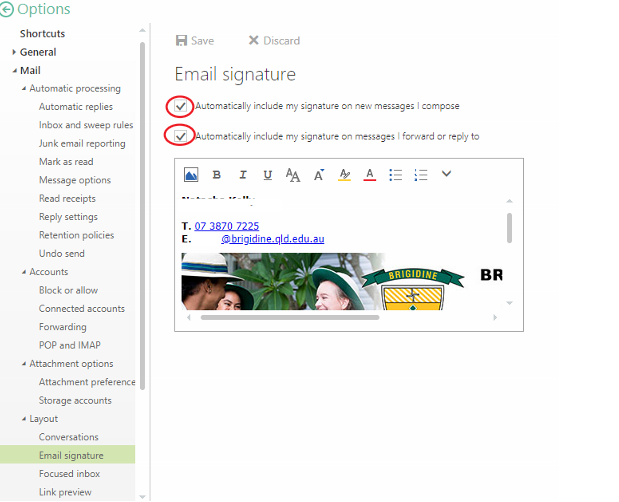
...
Desktop App
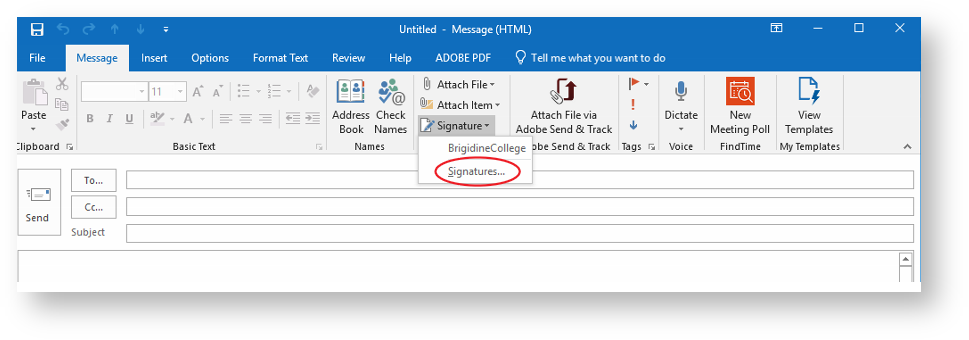
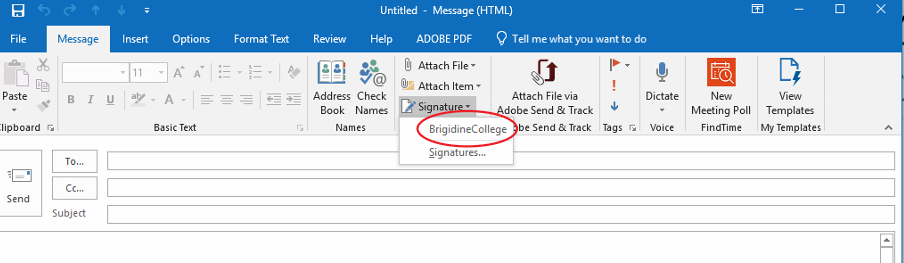
- Create a a new email.
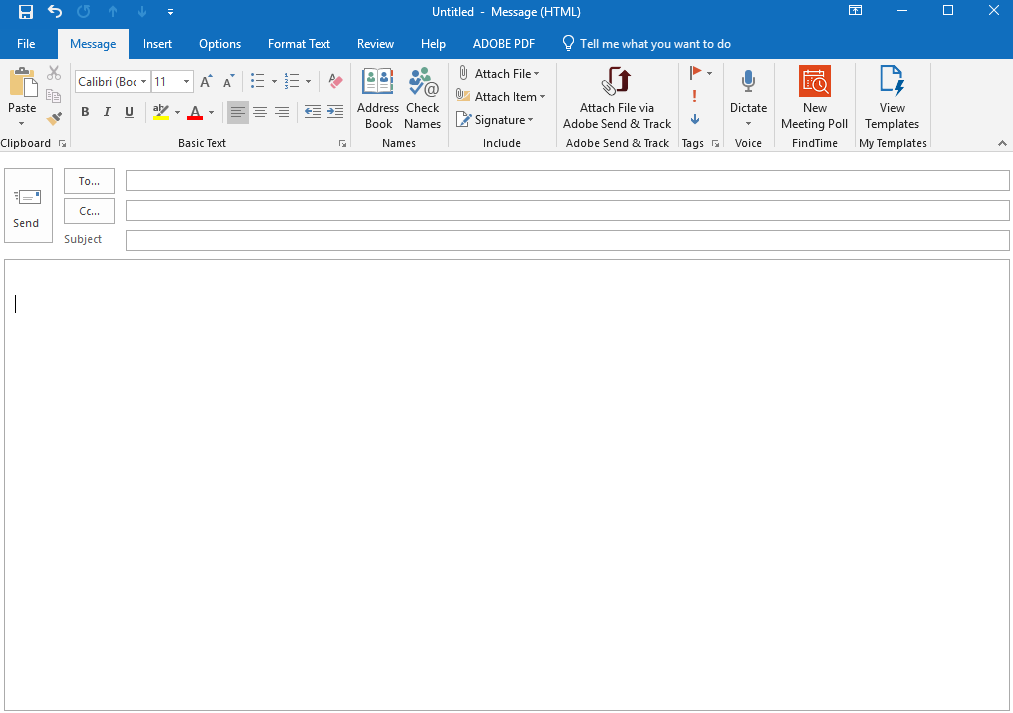
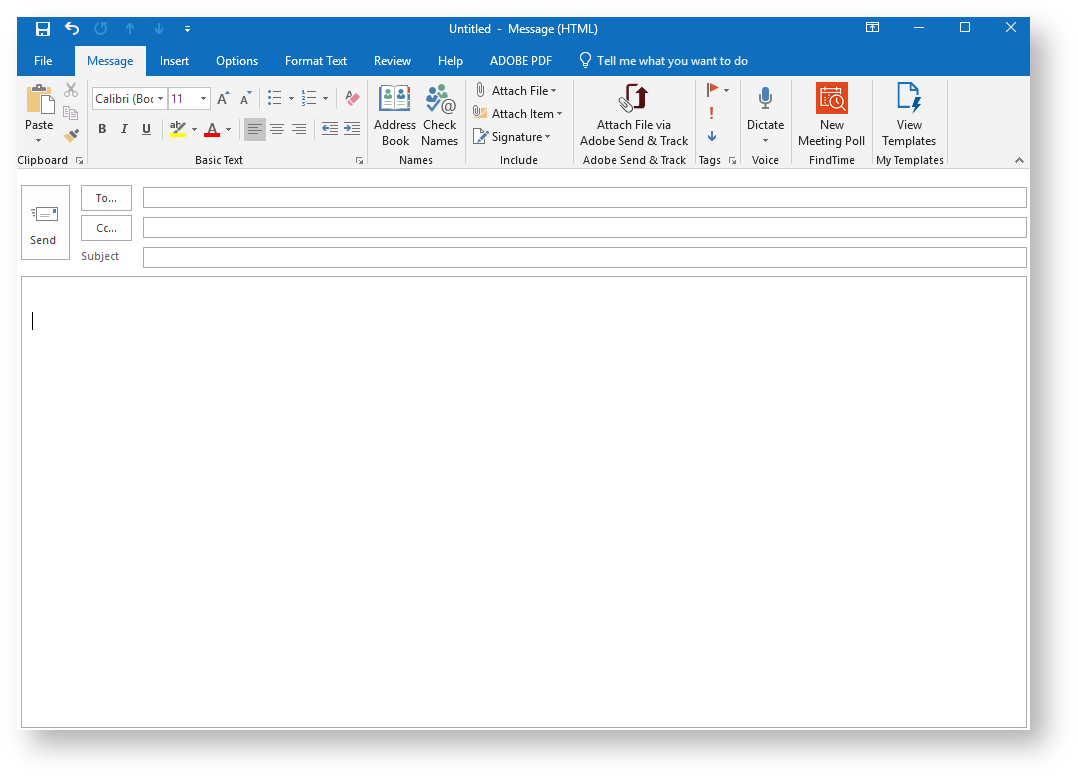
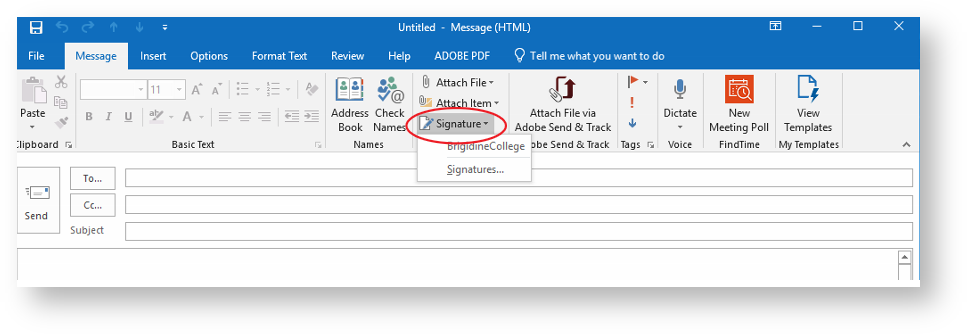
- Click on on 'Signature' located in the ribbon under the 'include' section.

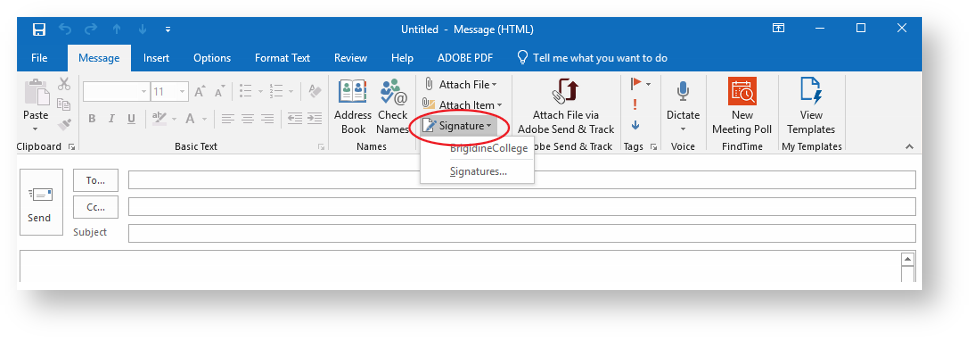
- Select 'Signatures' from the drop down menu.

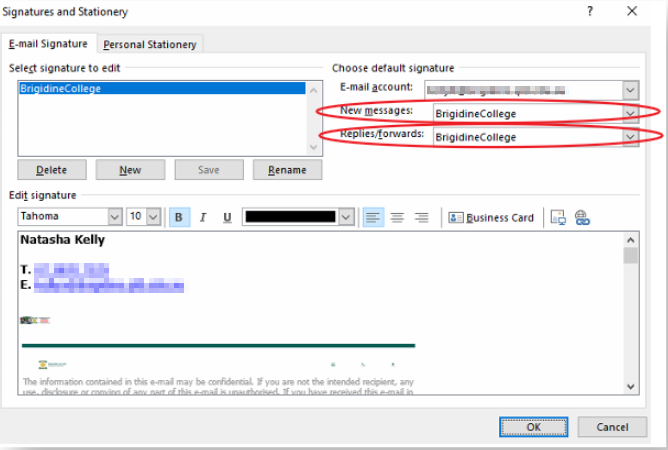
- Ensure 'Brigidine College' is is selected for both 'New messages' and 'Replies/forwards'.
Click 'OK' when you have done this.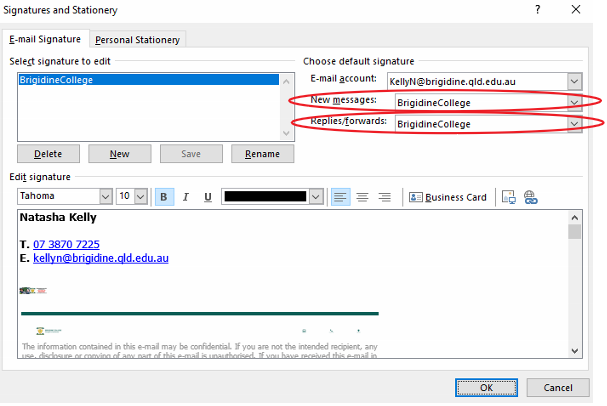
Click on on 'Signature' located in the ribbon under the 'include' section.
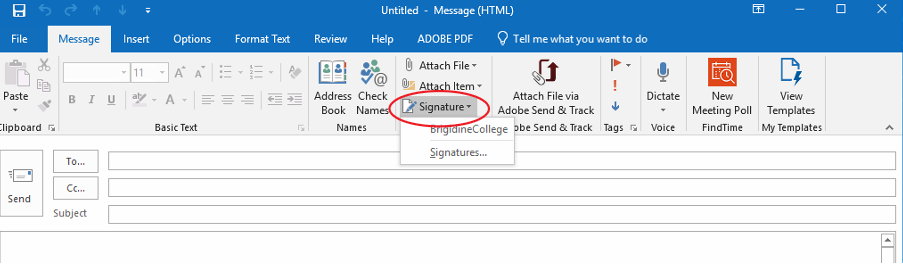
Info Please Note: The signature will now be automatically applied to every email created after this first one, continue onto the next step very subsequent email. Continue onto Step 6 to attach it manually for this one email...
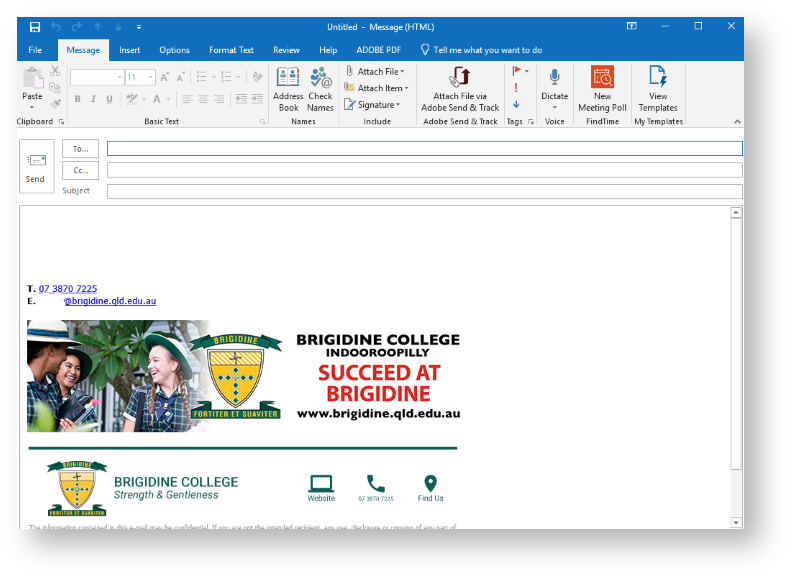
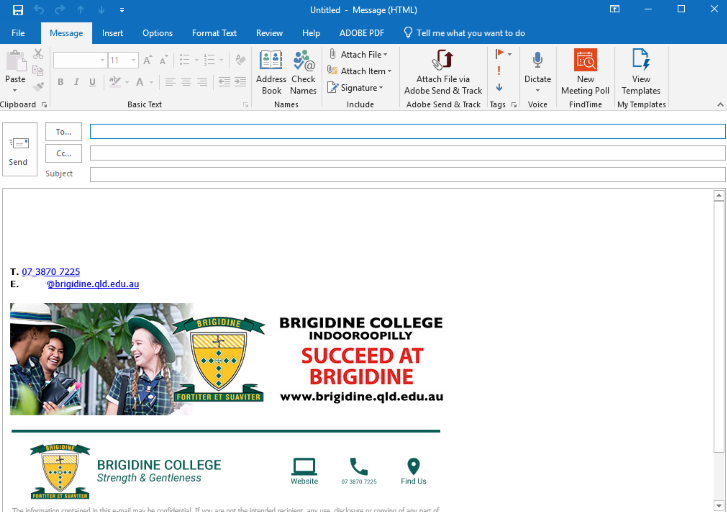
Click 'BrigidineCollege'. Your Brigidine Email should now be inserted into the content of each new email.
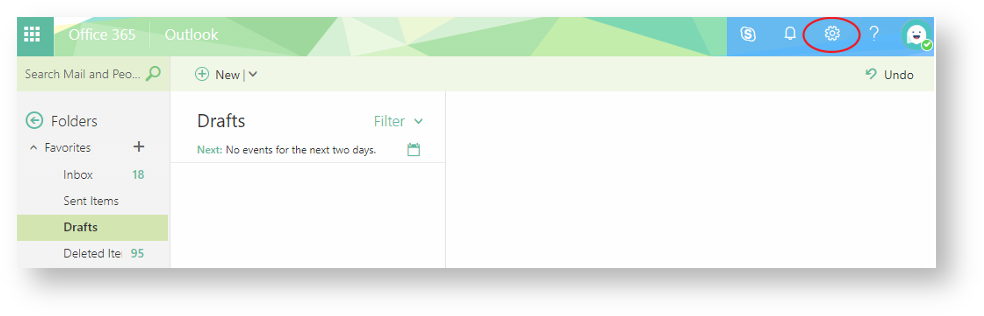
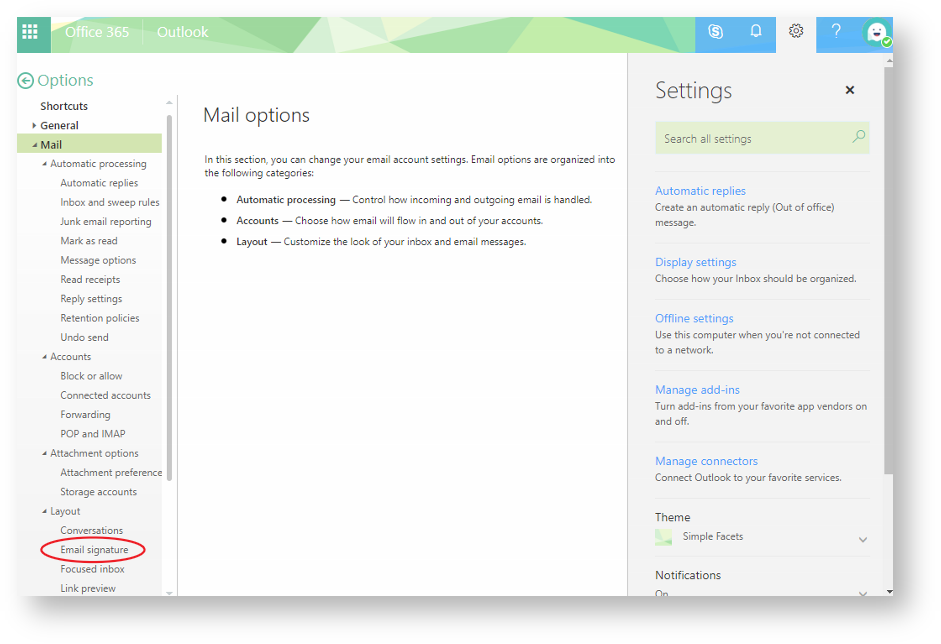
Outlook Web App
- Click on the settings cog (upper right hand corner).
- Click on 'Mail' under 'Your app settings'.
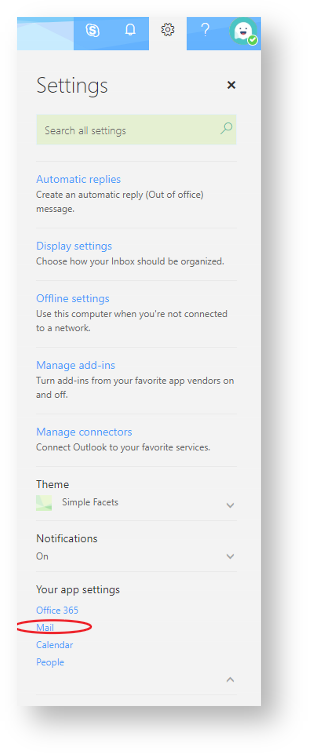
- Click on 'Email signature' under 'Layout' (bottom left side).
Ensure the two boxes are ticked.

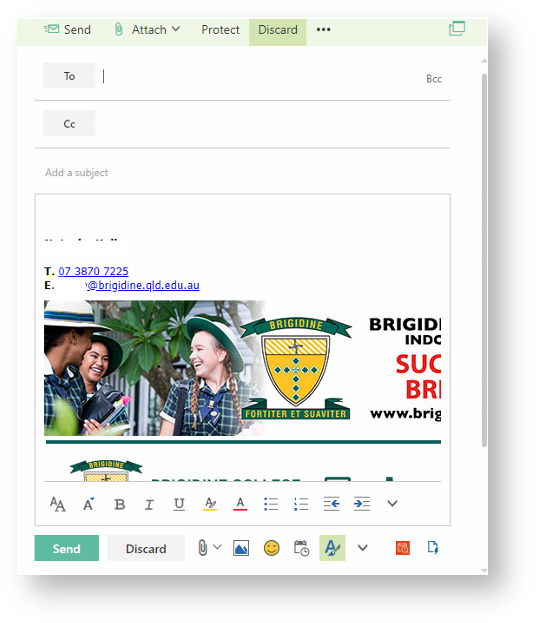
- Create a new email, your signature should appear in the content of the email.
Related articles
| Content by Label | ||||||||||||||||||
|---|---|---|---|---|---|---|---|---|---|---|---|---|---|---|---|---|---|---|
|
...