Each staff member has a pre-made signature, use this tutorial to view your signature which will attach to your email.
Automatically adding Email Signatures
Outlook Web App
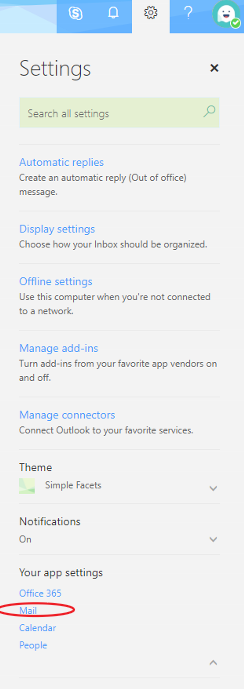
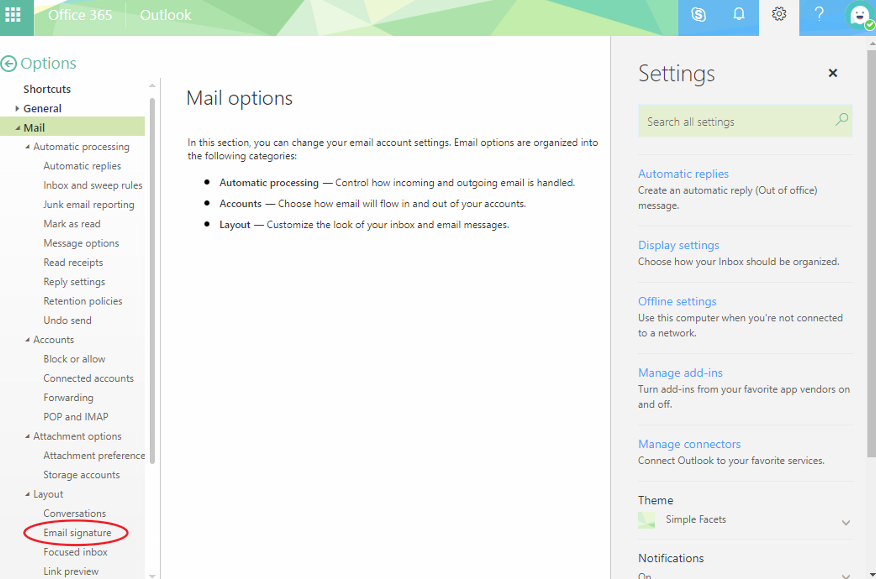
- Click on the settings cog (upper right hand corner).
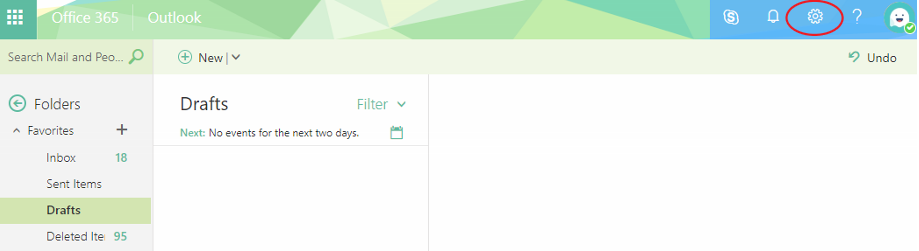
- Click on 'Mail' under 'Your app settings'.
- Click on 'Email signature' under 'Layout' (bottom left side).
Ensure the two boxes are ticked.
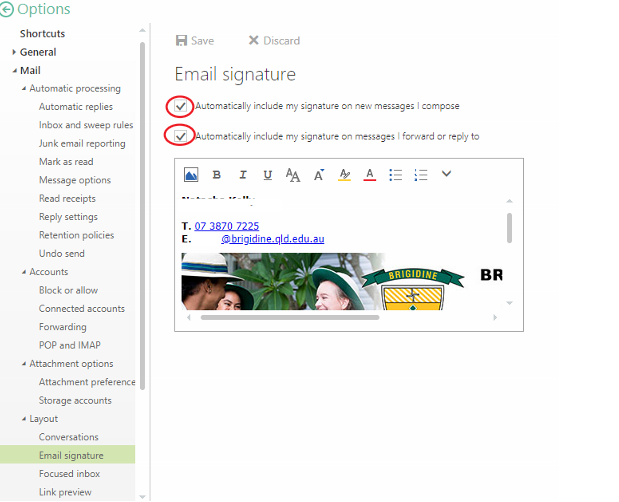
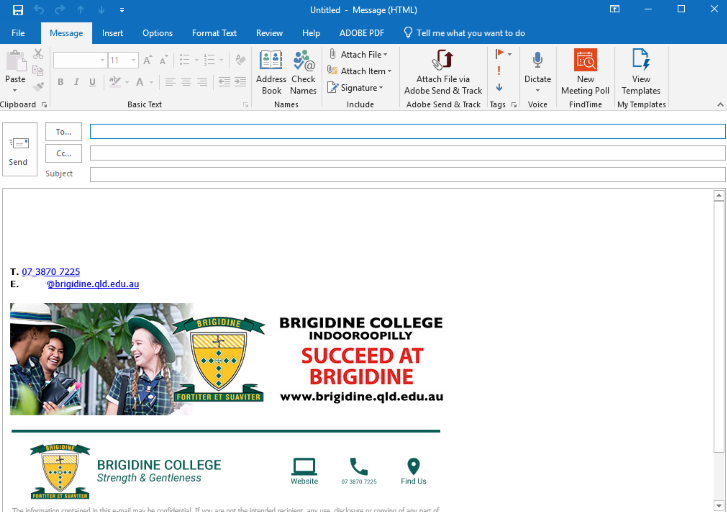
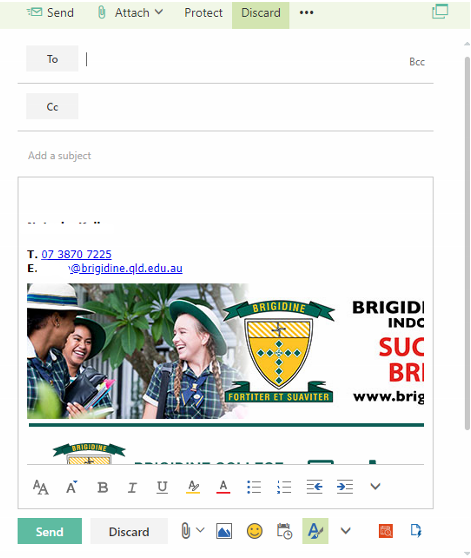
- Create a new email, your signature should appear in the content of the email.
Outlook Desktop App
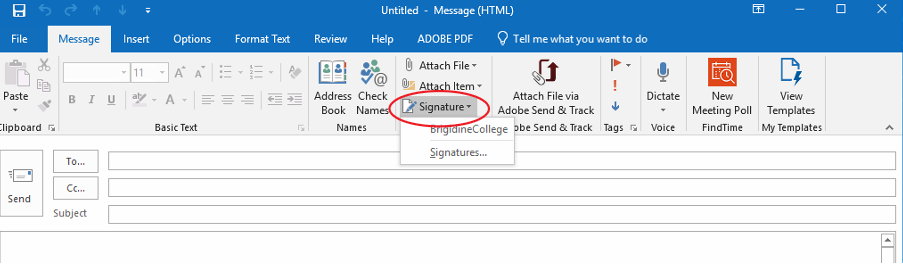
- Create a new email.
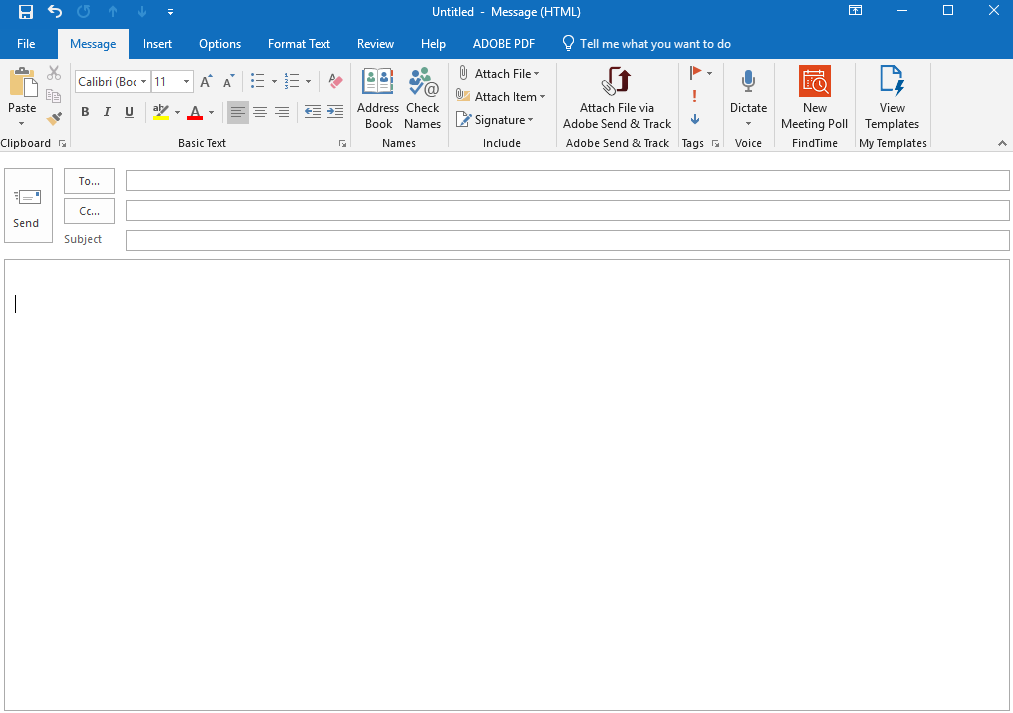
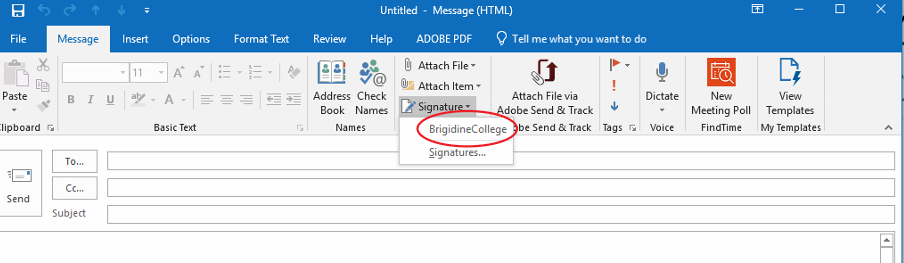
- Click on 'Signature' located in the ribbon under the 'include' section.

- Select 'Signatures' from the drop down menu.

- Ensure 'Brigidine College' is selected for both 'New messages' and 'Replies/forwards'.
Click 'OK' when you have done this.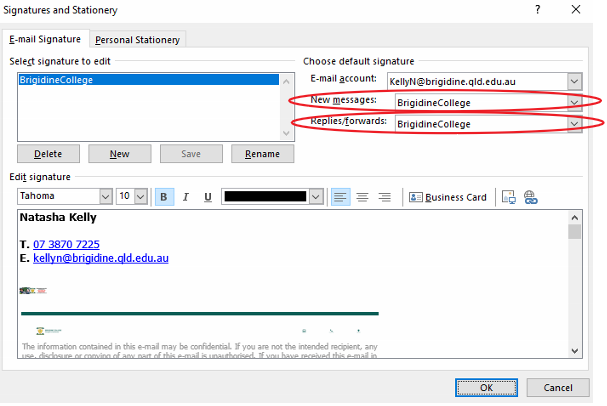
Click on 'Signature' located in the ribbon under the 'include' section.
Please Note: The signature will now be automatically applied to every email very subsequent email. Continue onto Step 6 to attach it...
Click 'BrigidineCollege'. Your Brigidine Email should now be inserted into the content of the email.