Use this tutorial to create a Class OneNote, a OneNote that allows you to easily distribute your class's notes and content to students.
Note
It's a good idea to create your next years/terms/semesters Class OneNote in advance, allowing you to have a stress-free start of term.
Instructions
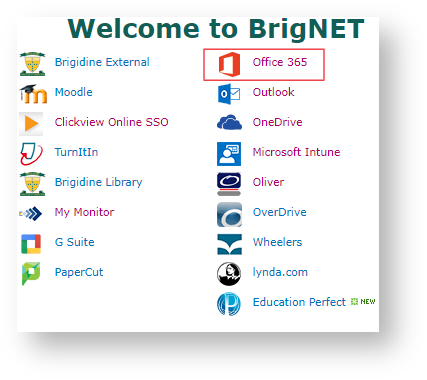
- Open 'Office365' via BrigNet link.
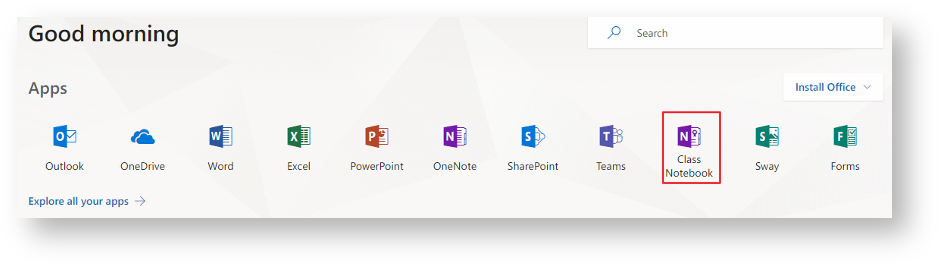
- Open 'Class Notebook' under Apps.
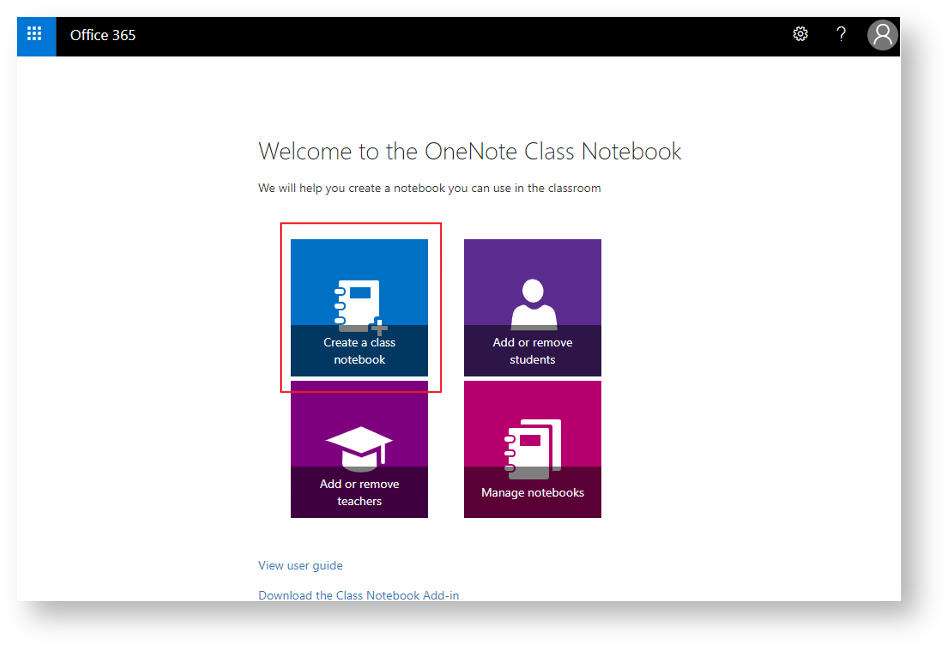
- Click 'Create a class notebook'
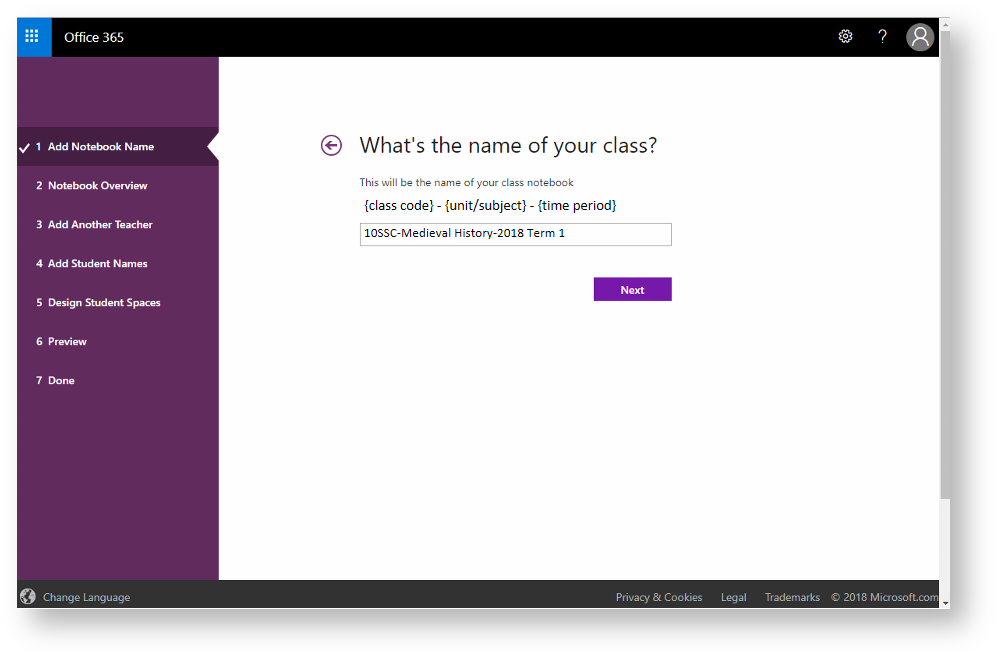
Add a NoteBook Name via the Naming Convention {class code} - {unit/subject} - {time period}. For example: 10SSC-Medieval History-2018 Term 1.
Check with your Curriculum Leader that your naming convention is consistent with your department
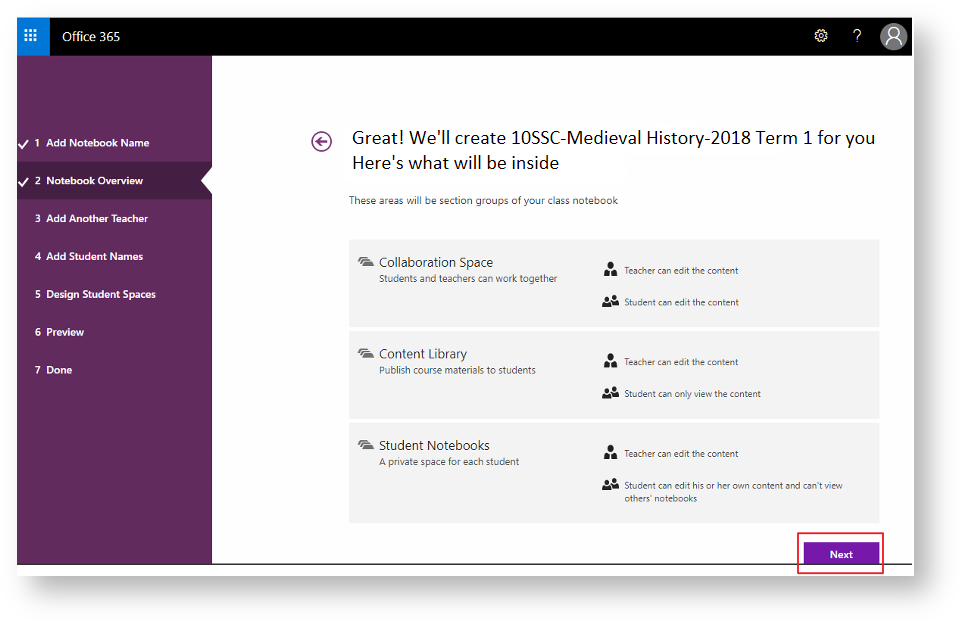
- Note the different sections that are created within a Class OneNote, click 'Next'.
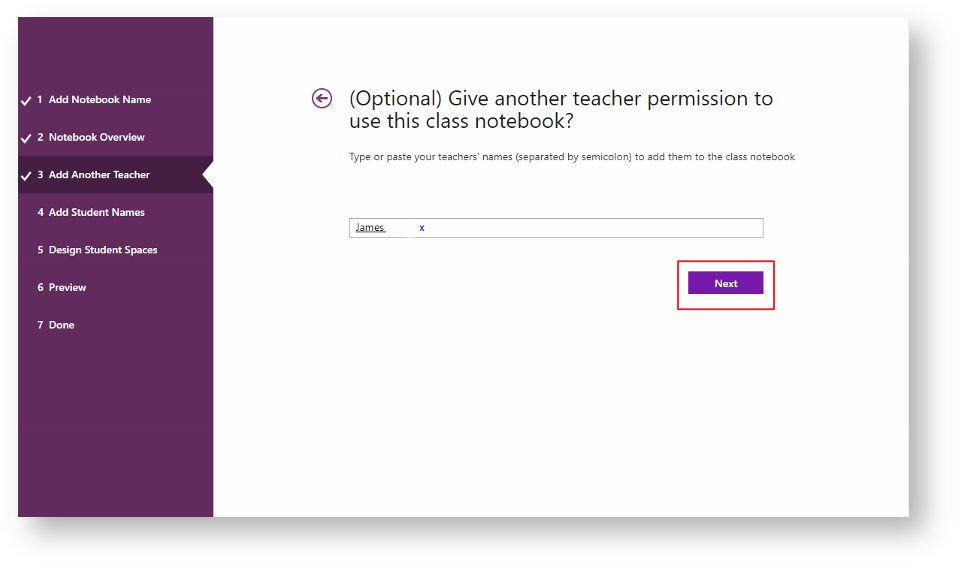
- Add any other teachers that will need access to your Class OneNote. By making someone a 'teacher' they will now become 'cocreators' of the OneNote, having special permissions and access to a separate section hidden from students.
Add your student's emails, via exported student emails from SEQTA Markbook ensure you wait for the students email to be replaced by their names, then click 'Next'.
If you are unsure on how to export students emails from SEQTA click this link.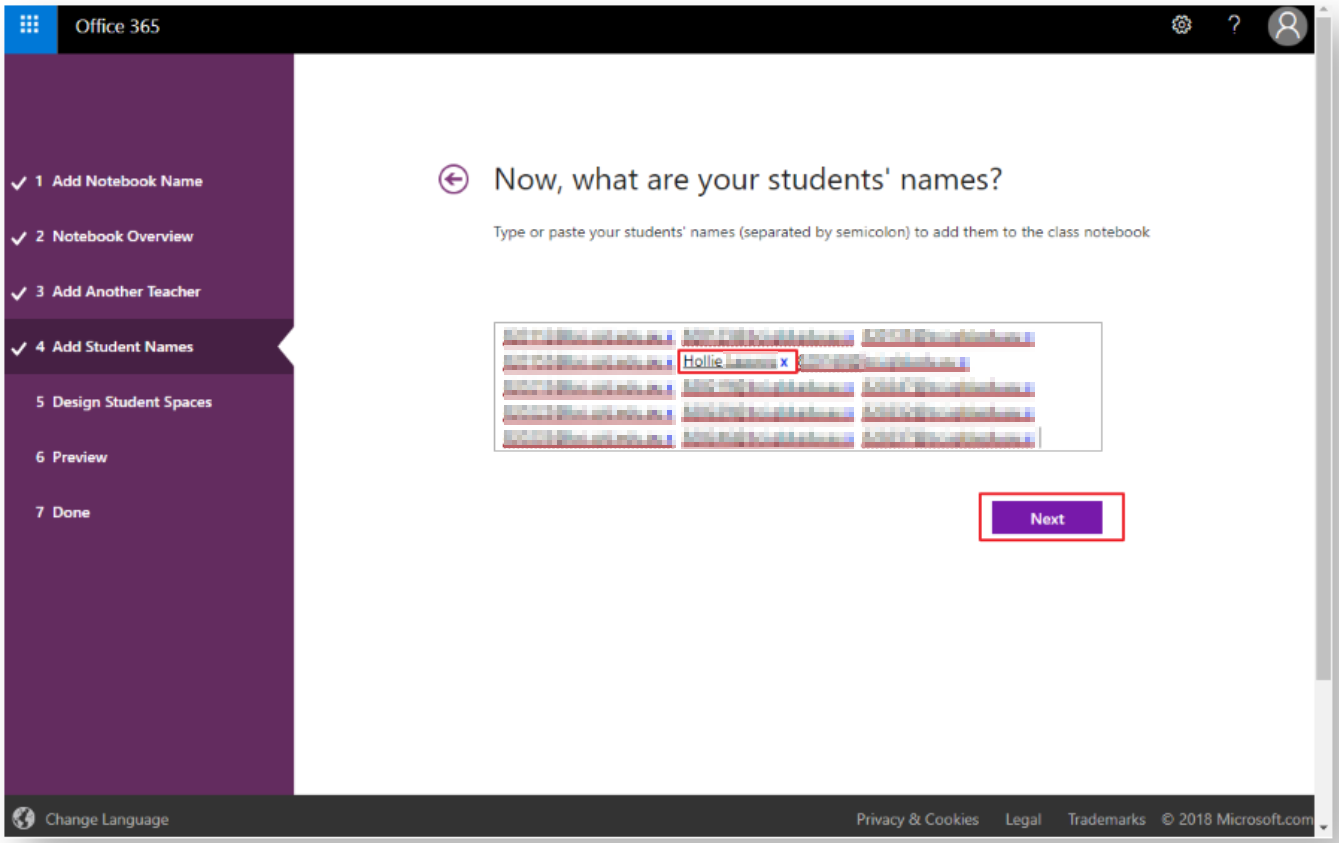
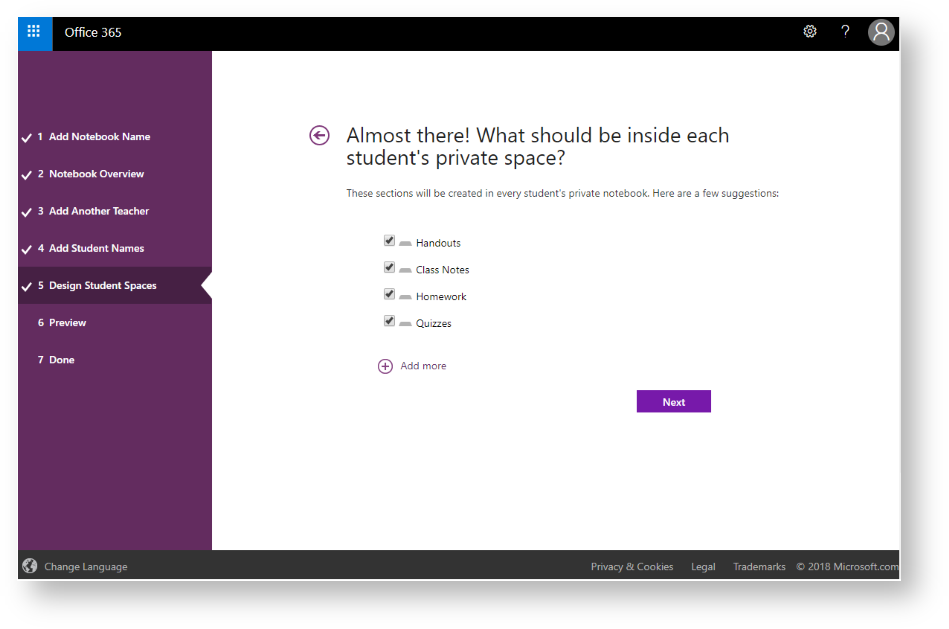
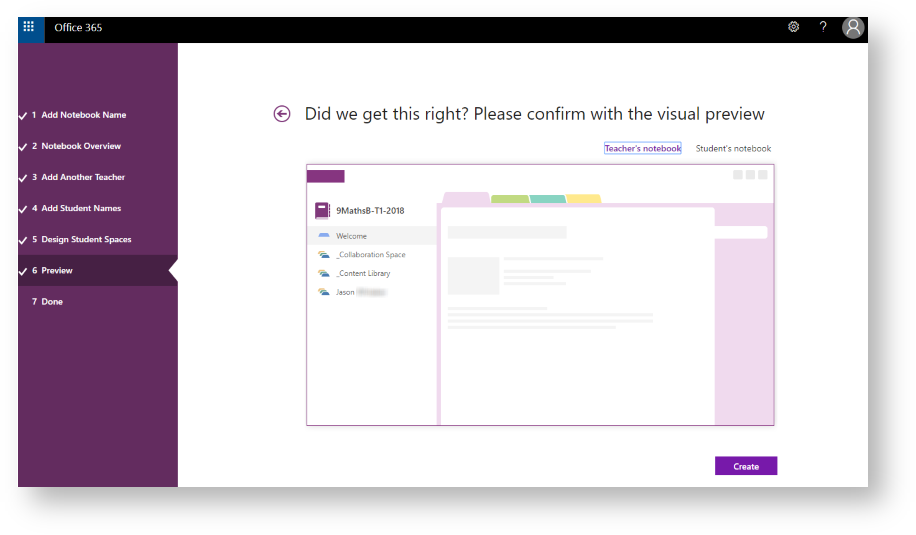
- Tick which sections you wish to include in the Class OneNote, then click 'Next'.
- Note the preview of both the Teacher side and Student's side, then click 'Create'.
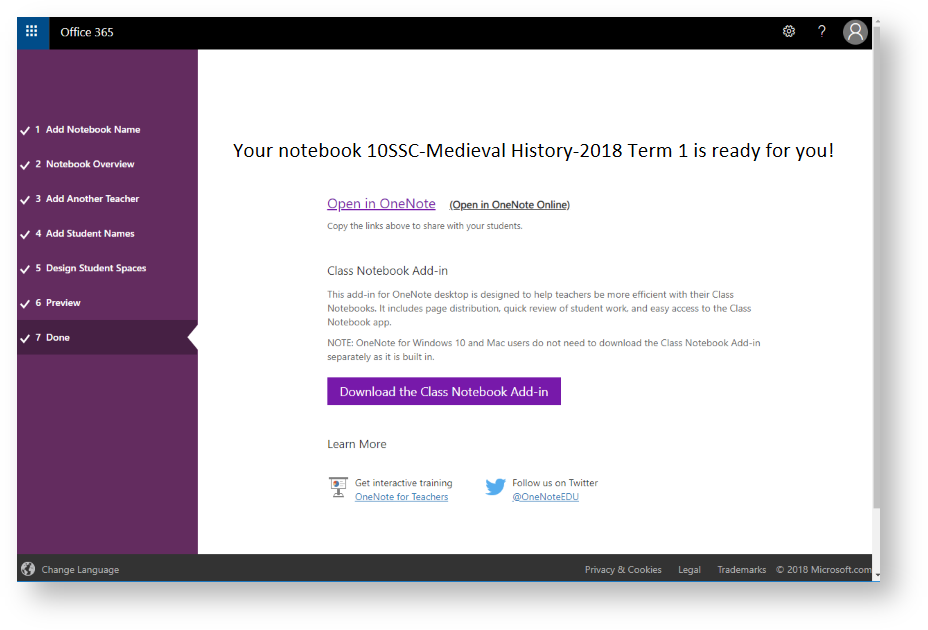
Once your ClassOneNote has been created, an email will automatically be sent out to the student's you have added.
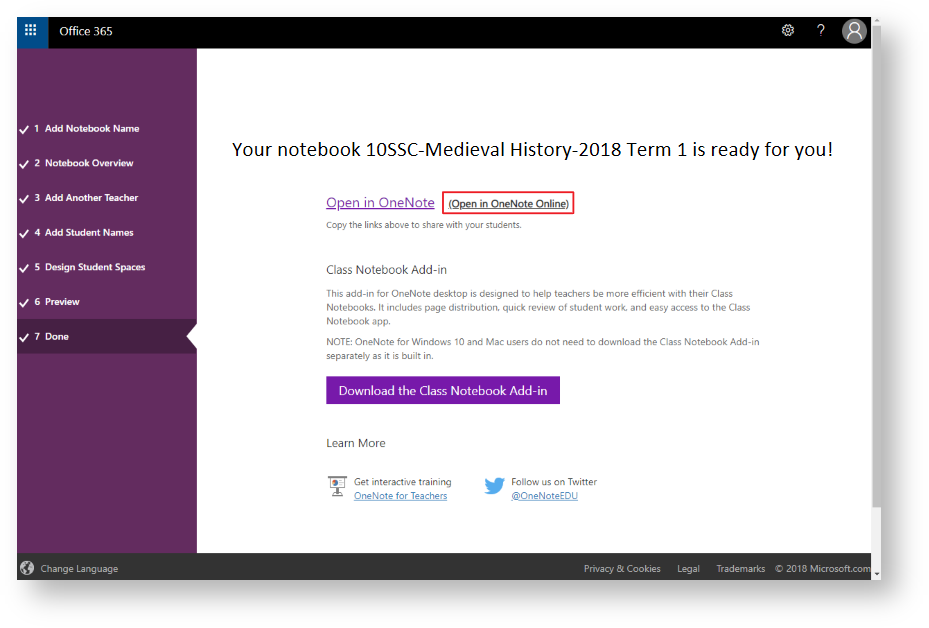
The following screen will also appear.
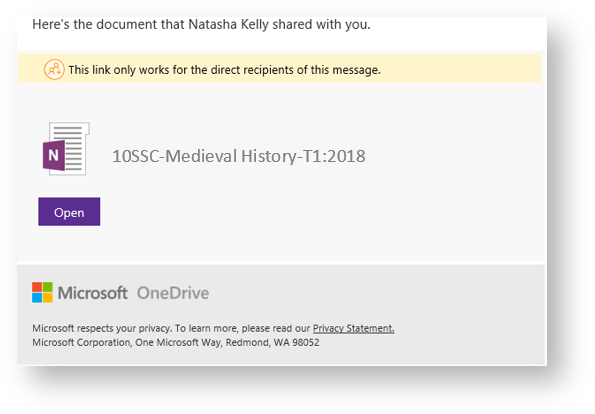
The students receive the following email.
If you are on your own laptop open in OneNote.
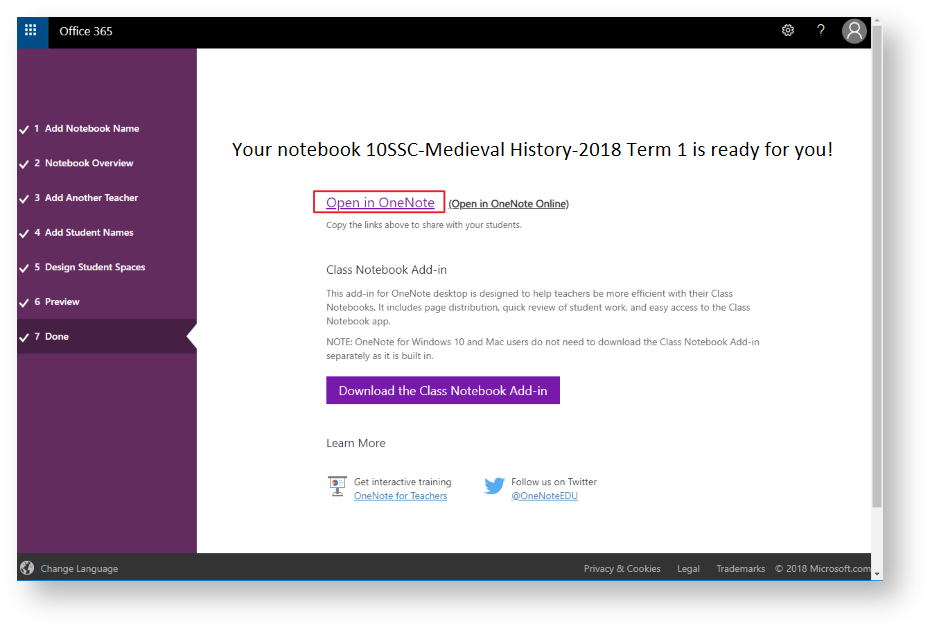
- If you are on a classroom laptop please open your ClassOneNotes in OneNote online to save time and minimise sync issues.
Once created do not to rename or move the Class OneNote file, any renaming or change of location will cause the file to break for all students due to sync issues.