
In this article:
If a student's forgotten their combination, the combination is under 'Classification' in their Oliver account.
Ask for their student number and type it into the bar to get their account, as usual.

The combination is under 'Classification' on the same row as the lock.

It's three two-digit numbers, so this combo would be 13 35 12. (Numbers below 10 show up as 08, for example.)
From the Loans window, you want to click 'Open' next to 'Finish':
This brings up the student's details as a Borrower:
Then click 'Current Loans' in the top bar:
Which brings you to a list of all their current loans:
Find their padlock in this list, and the combination is here:
Open the Circulation Desk, and click the 'Return' tab, next to the 'Loan' tab.
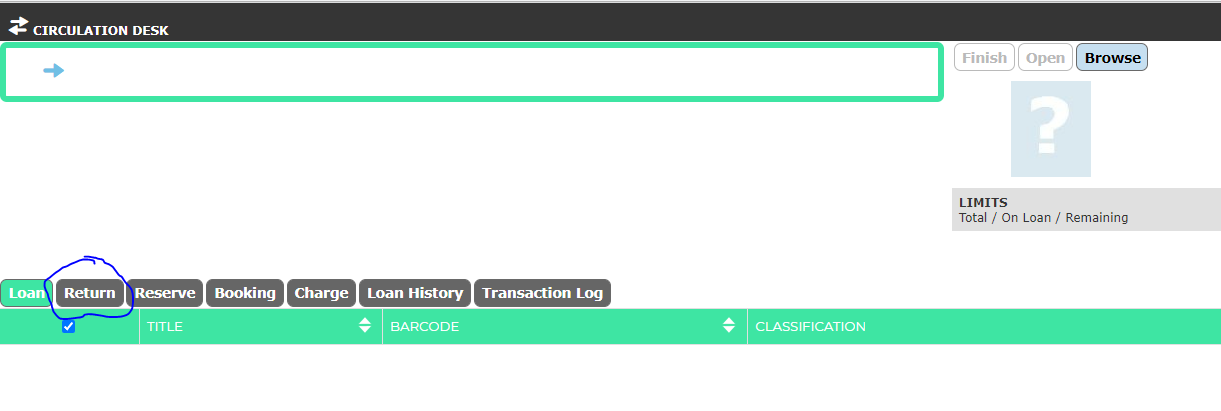
Once in the Return tab, ensure the cursor is blinking in the bar at the top and type/scan the lock's barcode like for loaning.

Press enter, then click the barcode under the 'Barcode' heading.
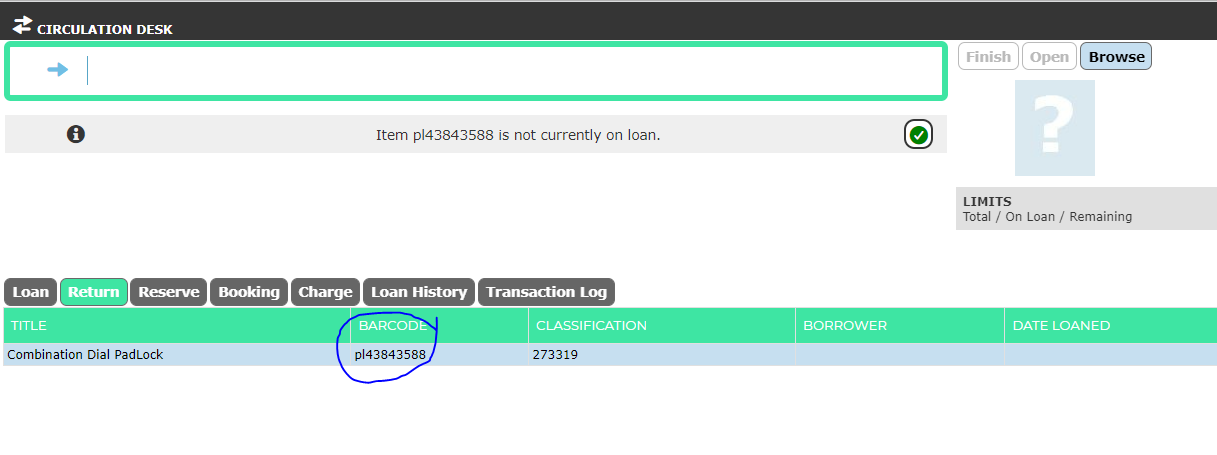
This will take you to the lock's entry in Oliver. From here you want to click 'Edit' at the top:
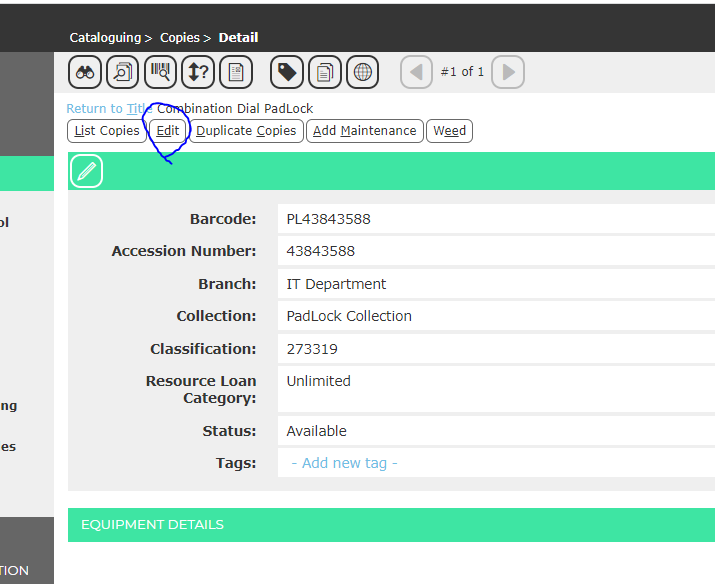
This brings you to a long list of editable variables for the entry. Scroll down to Status, and change the dropdown from 'Available' to 'Disposed'.

Click the Save icon in the top left corner.
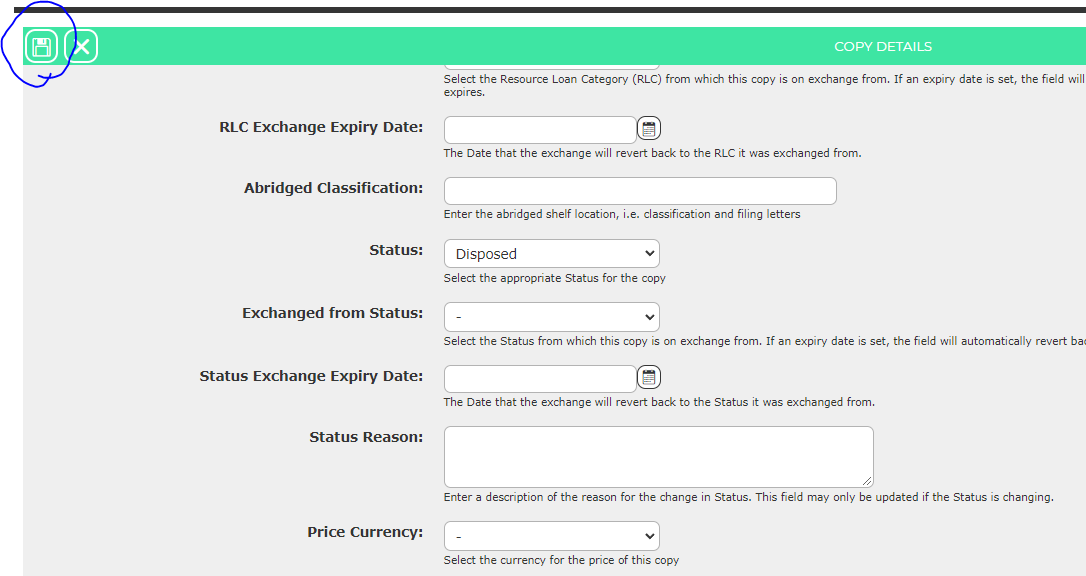
And the lock is written off in Oliver. To write it off in real life, just place the lock in the nearest bin.
Lock labels are the slips of paper attached to the lock, which has the combination, instructions for the combination, and the barcode. It is much easier to do these in bulk, if you can.
When one wants to print a new label for a lock, begin by entering the barcode/s you want to print into Excel.
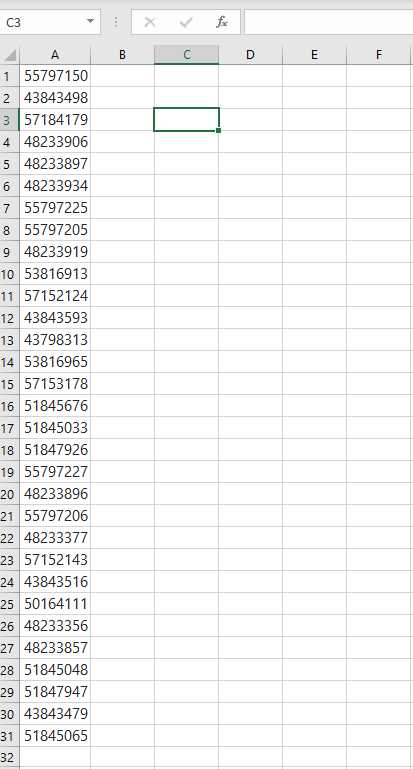
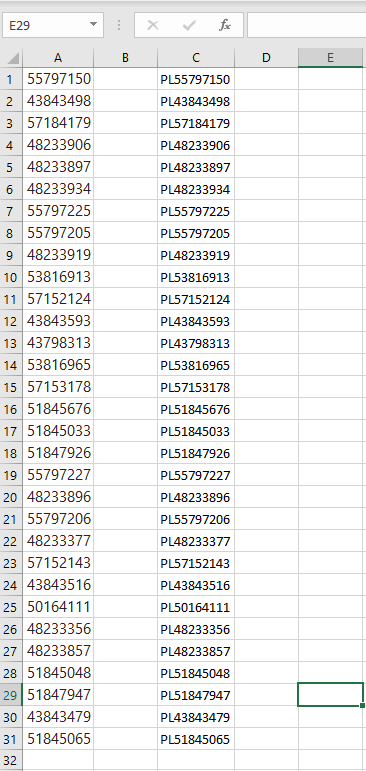
Then, click into cell C1 and type the following formula into the formula bar:

Then, with the small square in the bottom-right corner of the selected cell, drag the formula down column C.
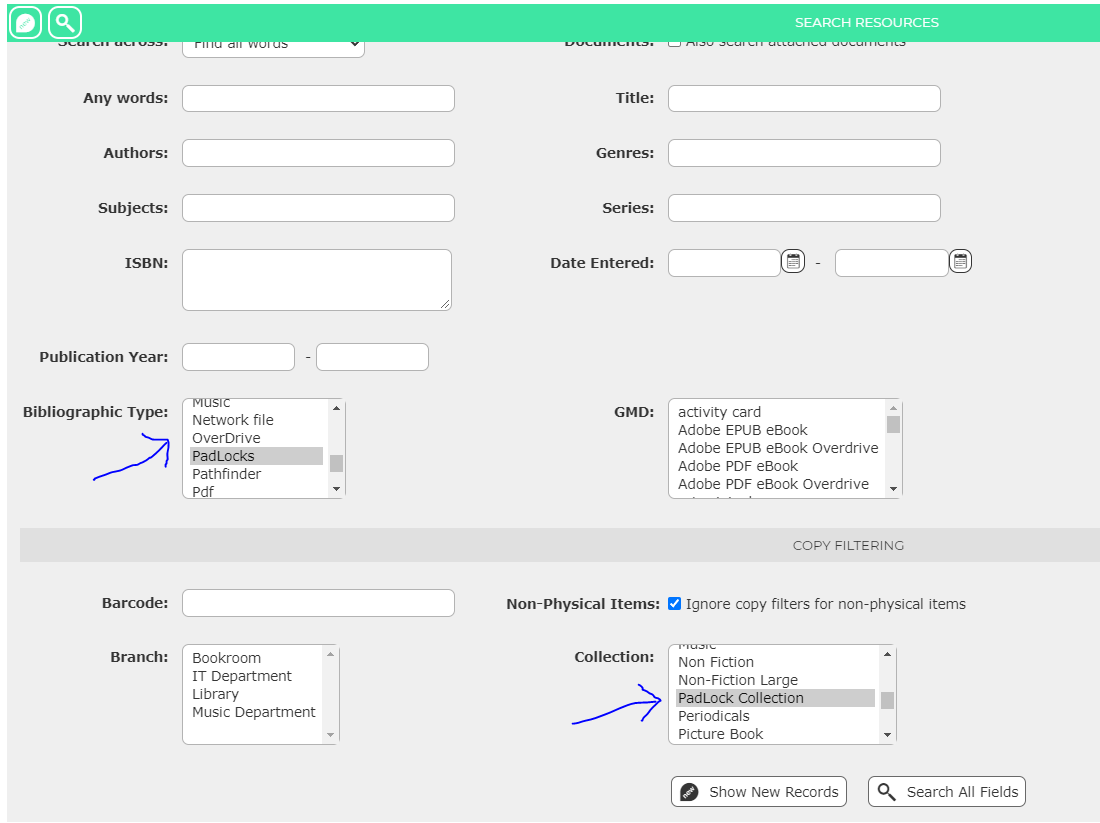
Next, log into Oliver and on the side bar, open Cataloguing, then Resources.

Under the (thing)s 'Bibliographic Type' and 'Collection', scroll down and ensure 'PadLocks' and 'PadLock Collection' respectively are selected.
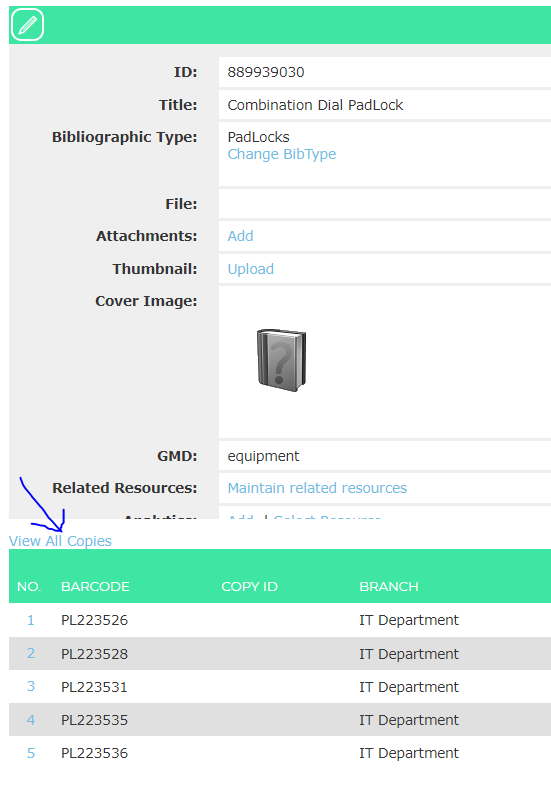
Search, then select the blue number next to the single Padlock entry.

Then, click View All Copies in the entry.
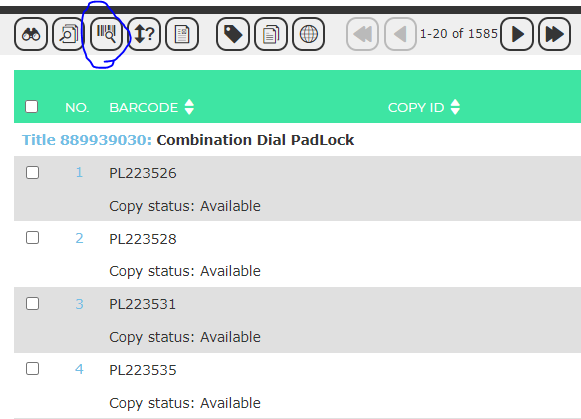
Click this icon in the top row, which allows you to search by barcode.
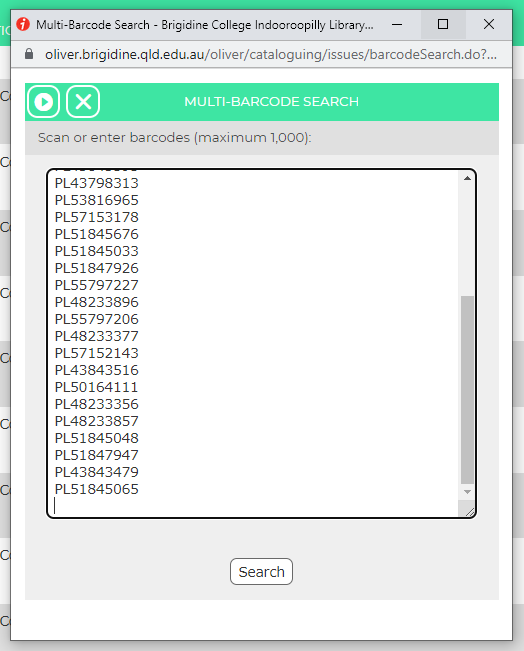
This small window pops up, and you can paste the barcode/s from your Excel document (remember that?) into here.
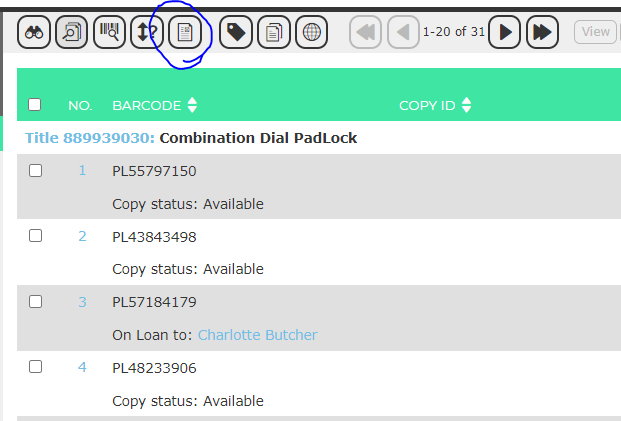
Click search to bring up the locks you want to generate labels for.
Then click this icon at the top, which will generate a report about these locks.
At this next window, under Select Report, scroll down and select 'Padlock Report 2022'; under Format, select Excel.
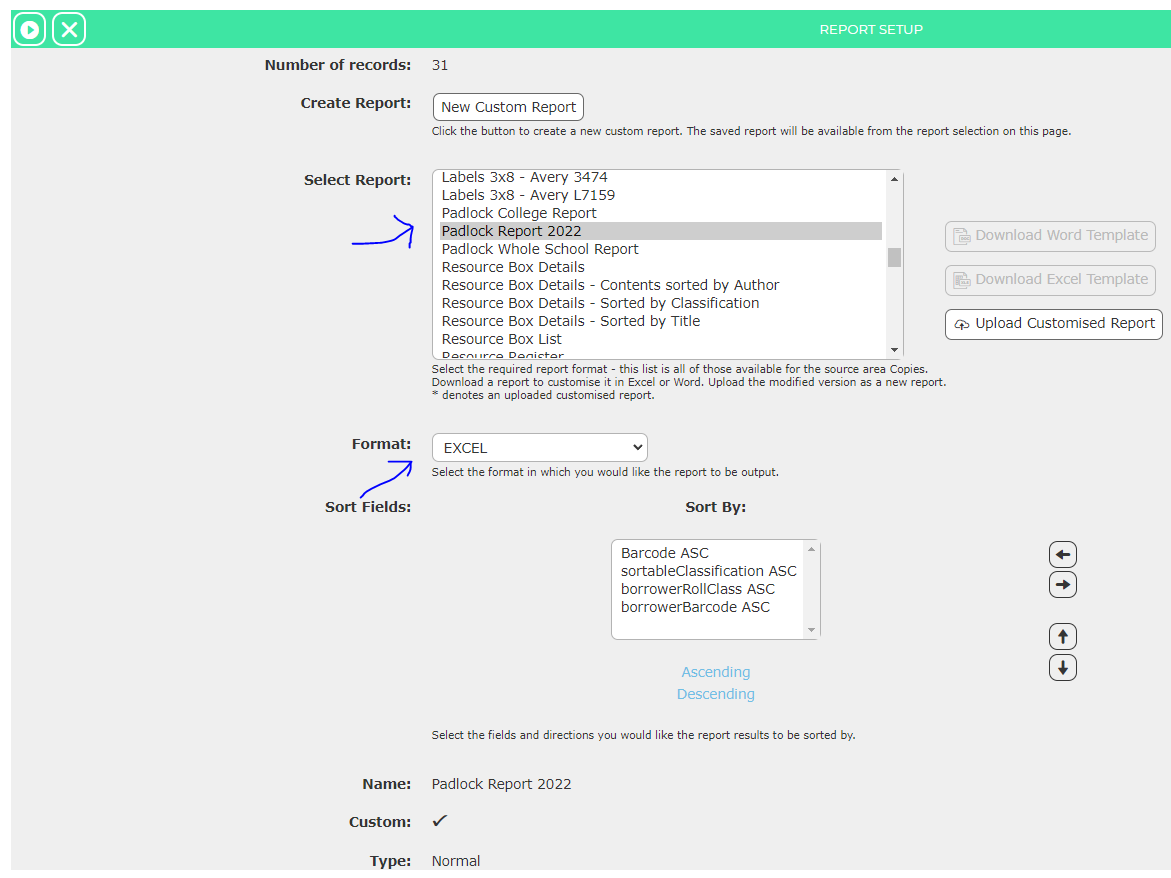
Then click the little arrow in the top left, which runs the report.
Download the report and open it.
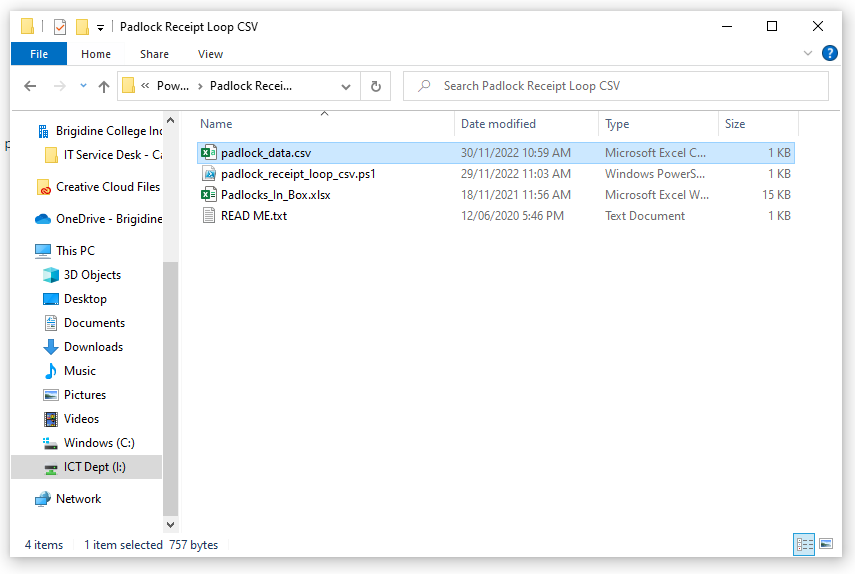
Open File Explorer, navigate to the USB and open padlock_data.csv.
Once opened, there will be data in the first two columns. Delete that data, and copy & paste the first two columns from the report you generated into padlock_data.csv.
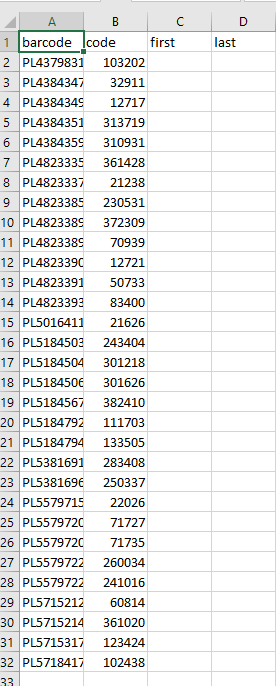
Save padlock_data.csv - it's okay to overwrite the original data you deleted.
Go back to File Explorer and the USB, select padlock_reciept_loop_csv.ps1. Right-click this file and select 'Run with Powershell'.
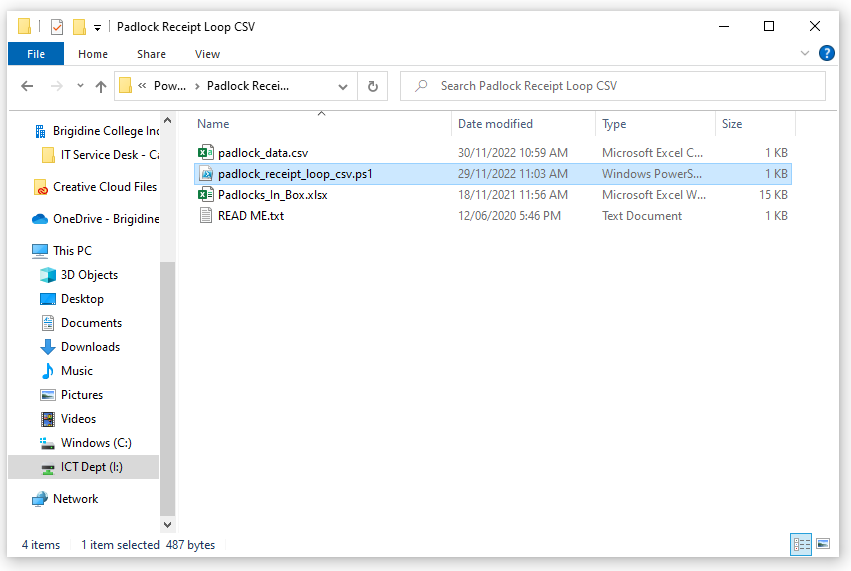
Receipt/s should print from your printer.