To begin, please log into the laptop which is located beside the sound board; credentials should be next to the keyboard to log in with.
Ensure the HDMI cable is firmly plugged in to the laptop.
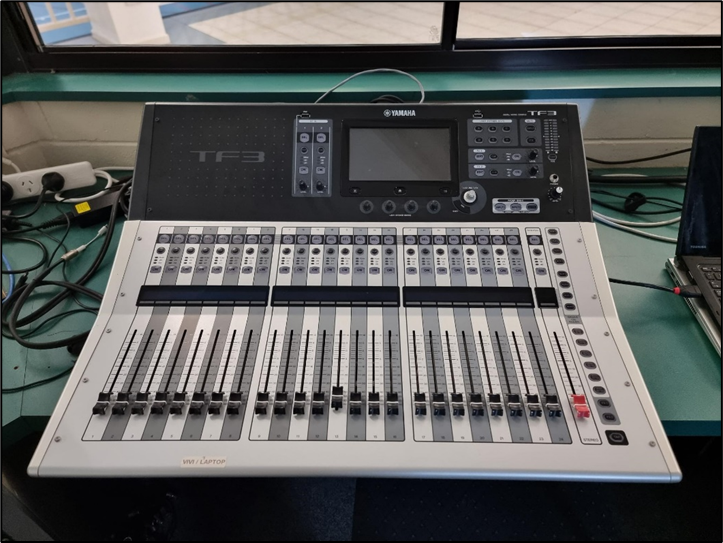
You will need to switch on the Sound Board. This is usually covered with a protective cloth.
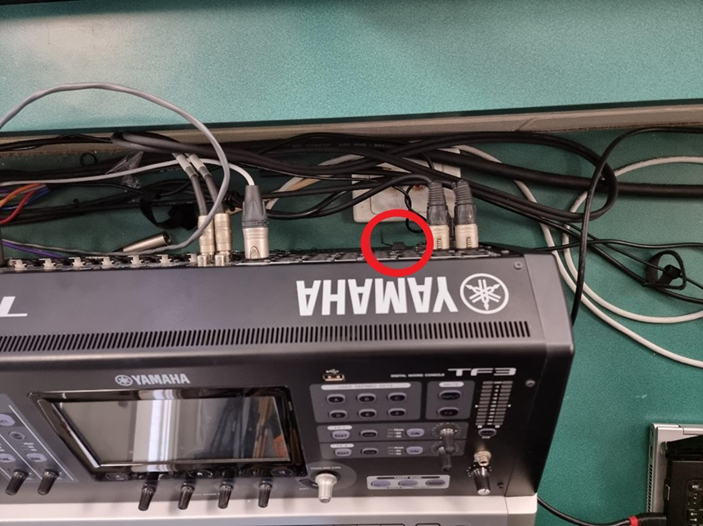
The Power Switch is on the rear right-hand side of the device:
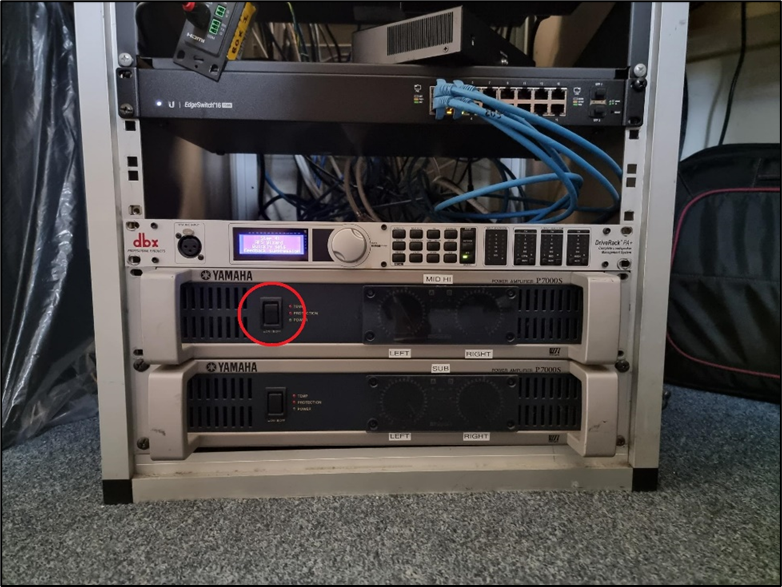
While the sound board turns on, turn the Amp on.
Press the large black button, the “Power” light should appear green.
To turn the projectors on, press the ‘On’ button on both white boxes.

Next, the little screen on the table needs to be tapped to wake it up.
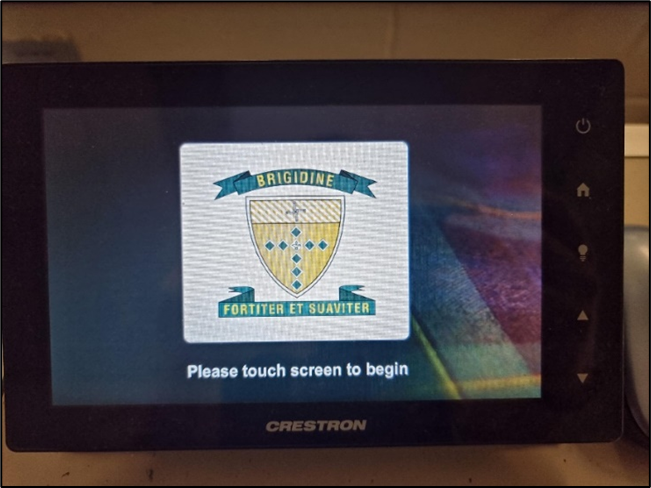
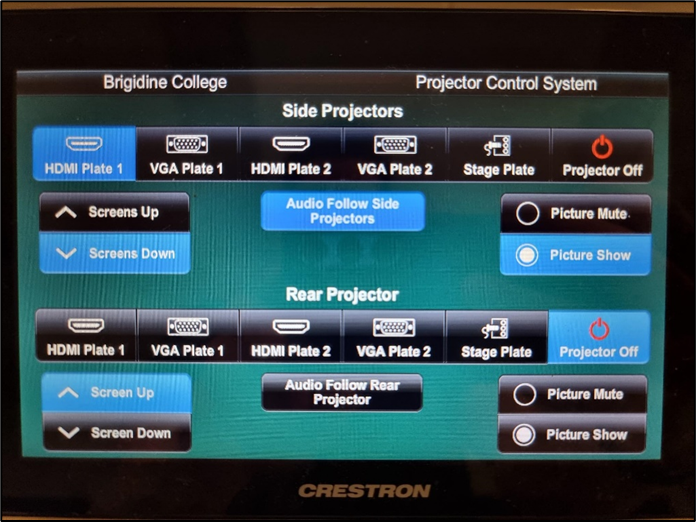
Once the Control screen wakes up, press “HDMI Plate 1” if you are using the laptop provided.
Otherwise, press “HDMI Plate 2” for the Vivi.
Pressing these will make the projector screens come down, and the projectors will turn on. The image below is how the Control should look when it is working correctly.
NOTE: The Rear Projector is not being used, please ensure you only touch the “side projectors” controls.
NOTE: The projectors may take about 1-3 minutes to warm up before an image is shown
Trouble Shooting
If for some reason the projectors do not switch on correctly, press the “Projector Off” button, wait for the screens to roll up again,
then press HDMI Plate 1 to make the screens come back down and the projectors should turn on.
If it is still not working, the laptop may be the issue, press HDMI Plate 2 and check if an image appears on the projector’s screens,
if it does, then the laptop needs to be turned on or unplug it and plug the HDMI cable back into the laptop.
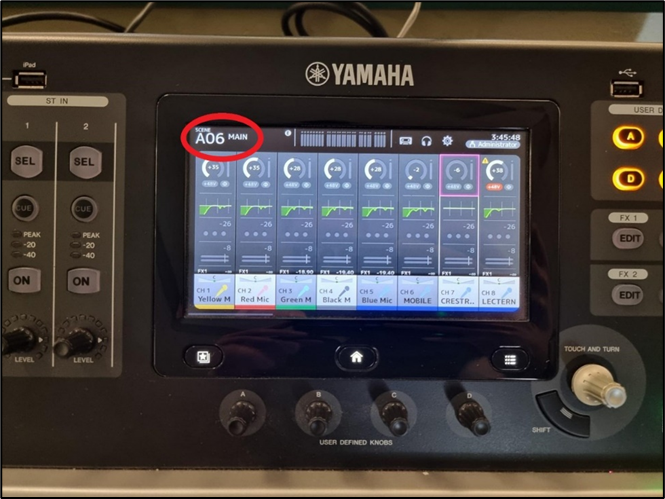
The Sound board should now be on, press the A06 Main logo on the top left of the screen.
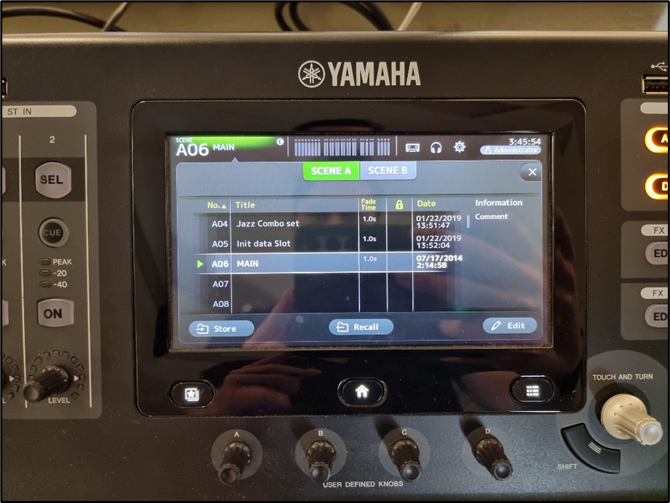
Select MAIN, then press Recall. The sliders should all move up to their pre-set positions.
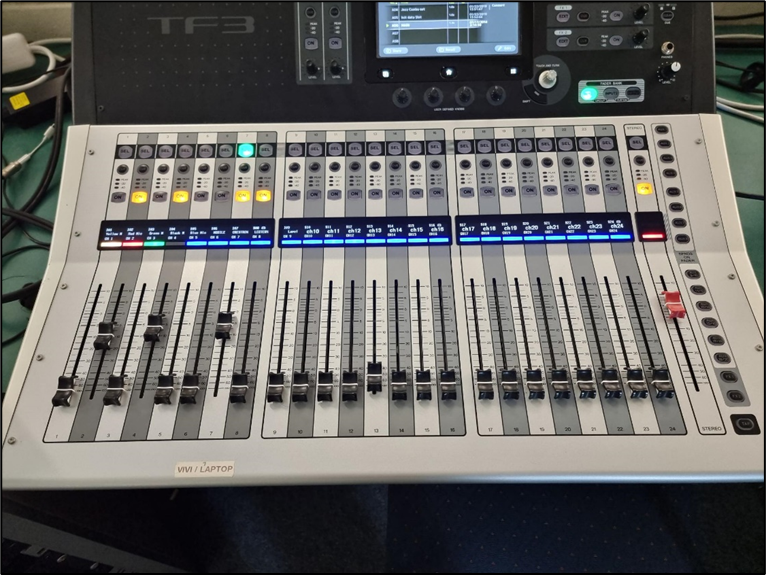
To use the Lectern Mic, slide its slider up until it is at a volume you like. It will be all the way down by default.
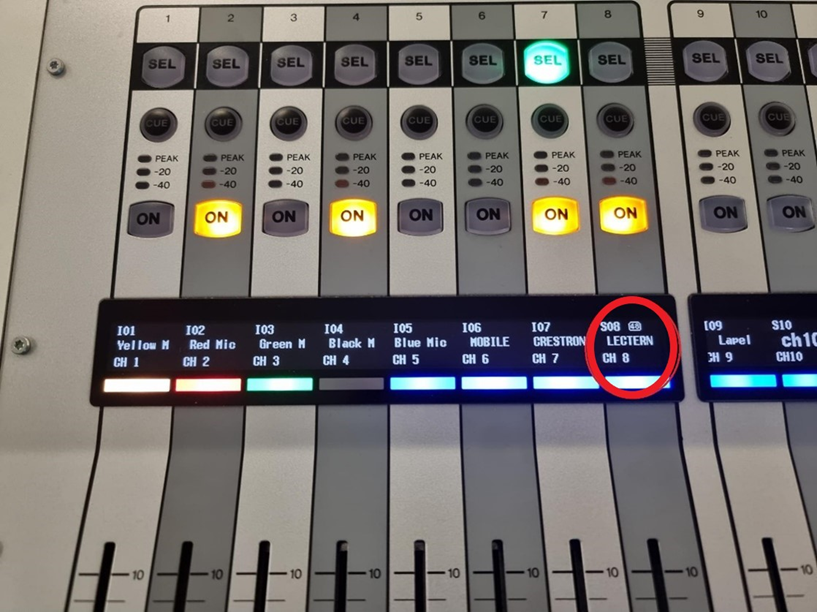
Laptop/Vivi volume is controlled by the slider labelled Crestron.