Use this tutorial if you are completing the Validity Check for a piece of assessment.
Instructions
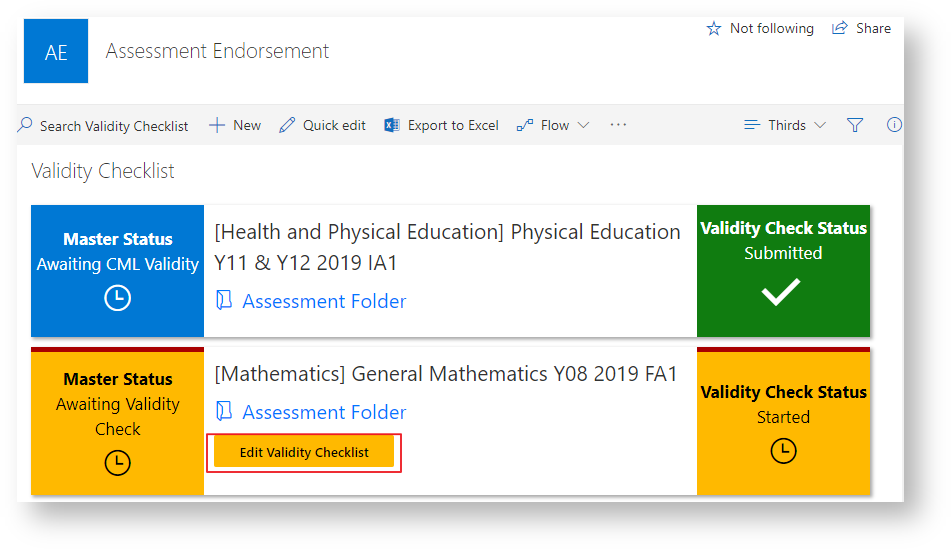
- You can view all the assessment items you have been assigned to in the Validity Checklist. You will also receive an email whenever a new assessment item is ready for your attention. This email will contain a link to the Validity Checklist.
- To view the assessment piece that has been written for each item click the 'Assessment Folder'. To begin the Validity process click 'Edit Validity Checklist'.
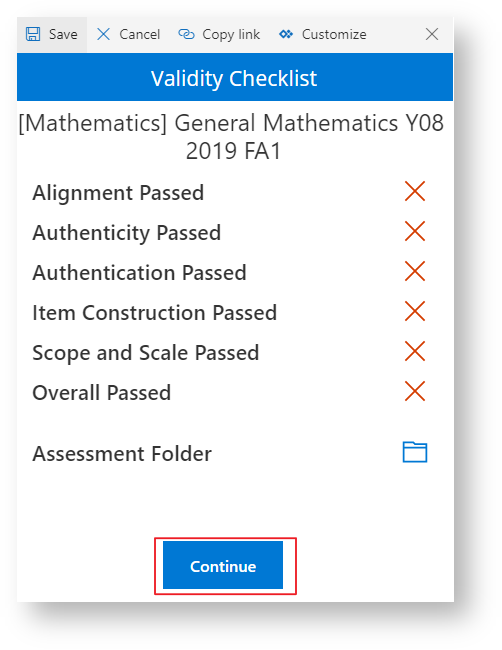
- The checklist will appear at the side of the screen. You can open the assessment folder from this screen by clicking the 'Assessment Folder' button. Click 'Continue' to begin working through the Validity Checklist.
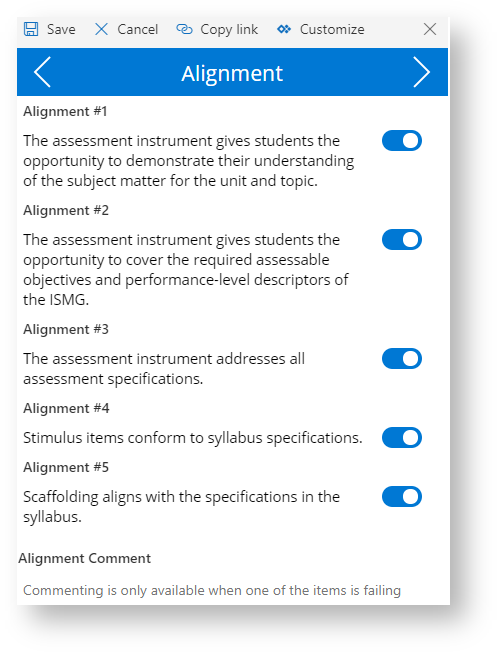
Complete the validity checklist by clicking the toggle button on each item to indicate that the assessment piece passes the attribute, you can use the navigation chevrons at the top of the page to progress through each attribute category. Once you have finished all criteria click the Complete button on the last page.
Note the comment box will only appear if a criteria hasn't been fully met, if all conditions are marked as acceptable the box will disappear.
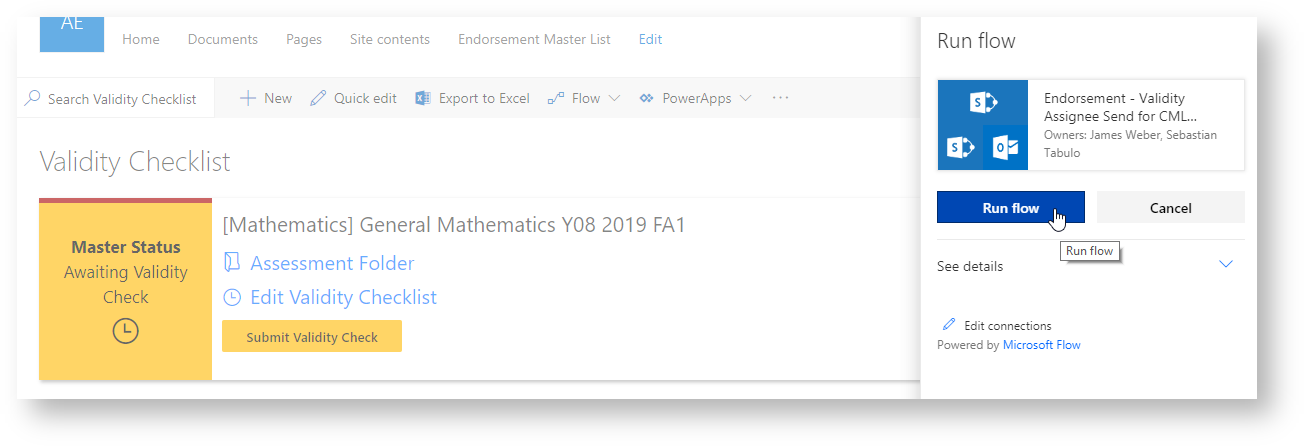
Once the check has been completed, the item's 'Validity Check Status' will change to 'Ready for Submission'. Click 'Submit Validity Check' to submit the checklist.

A side panel will appear. The first time you are submitting a Validity Check it will ask to accept some permissions, click 'Continue'.

On the next screen choose 'Run Flow'. This acts as a confirmation button and will need to be clicked every time you submit an item for Validity.
Once the validity check goes through the 'Validity Check Status' will change to 'Submitted'.
Related articles
There is no content with the specified labels