This tutorial outlines how to set up OneDirve on your computer
Instructions
- Press the Windows button and search for OneDrive.
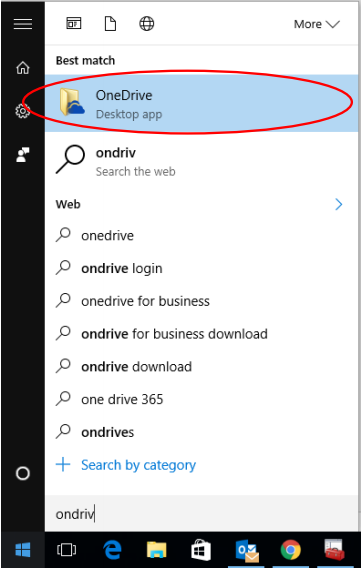
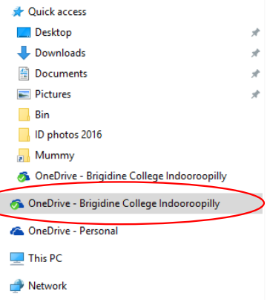
- Select the OneDrive desktop app. Make sure that the OneDrive that is selected is the same as the one circled in the image above.
If the OneDrive you see is not exactly the same as the one above, go to IT Support so the correct OneDrive can be installed. - Enter your school email into the space given and Sign In.
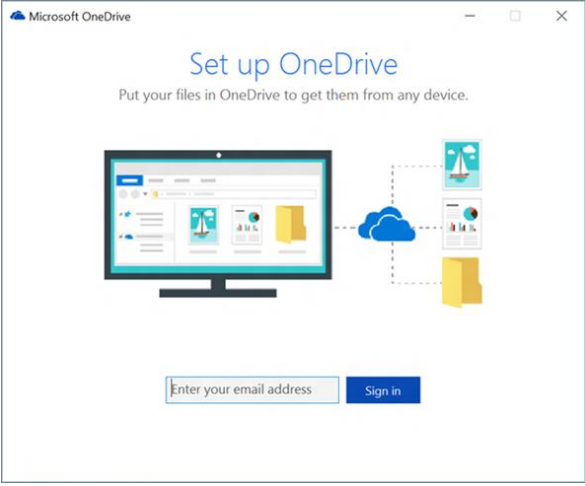
- Click Sign in on the next page (see below) – you shouldn’t need to enter your password.

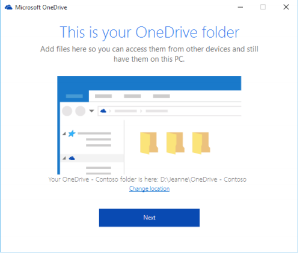
- Select Next to accept the default folder location.
- Choose the folders you want to sync (see below for an example)
a. If you are a new student, accept the defaults.
b. If you are a current student, select only the folders that you are going to need (the more folders you sync,
the longer it will take and the more space it will take on your hard drive).
You can always access other folders from your OneDrive online.
- The OneDrive that you should be saving things to is called ‘OneDrive – Brigidine College Indooroopilly’ (not ‘OneDrive’ or ‘OneDrive – Personal’).